
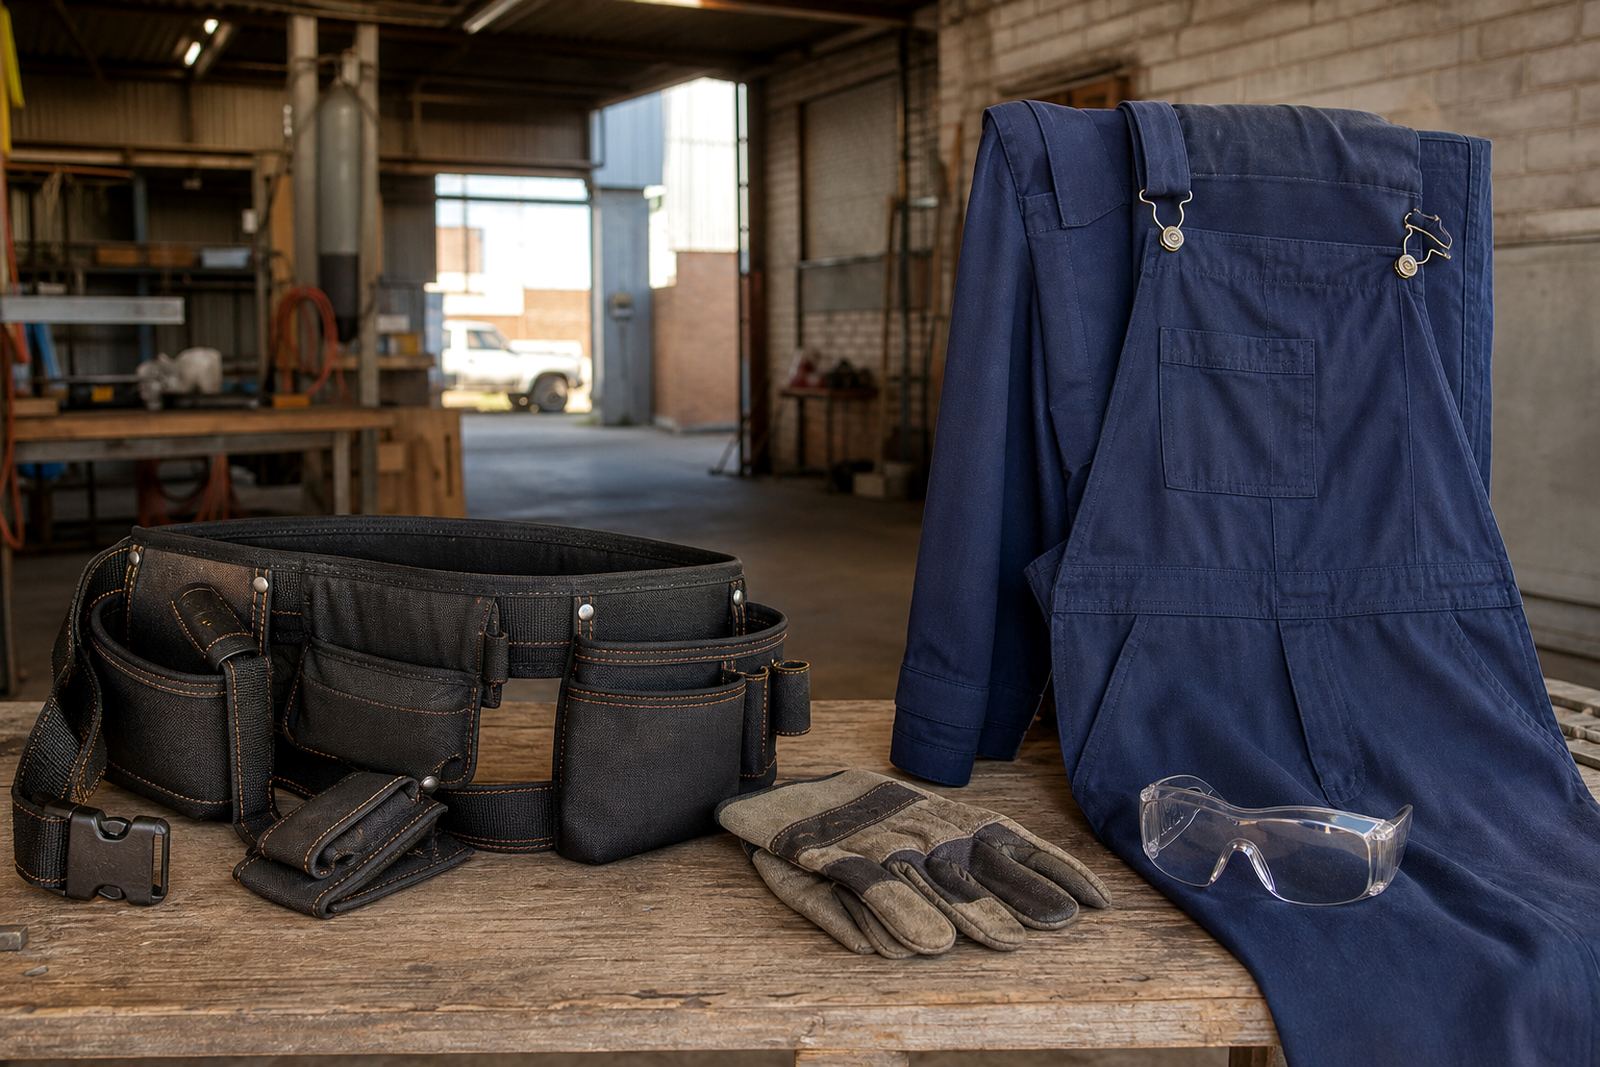
What a first apprentice belt must do on a real South African site
A starter belt is not about carrying everything you own. It is about keeping the right small tools within reach while you move, climb ladders, fetch material and work around other trades. For apprentices in Johannesburg, Pretoria or Durban, that usually means a setup that can handle heat, dust, concrete chips and the odd rain shower without becoming uncomfortable after two hours.
A good first belt should spread weight evenly across the hips, sit firm when you bend, and give quick access to the items you use all day. If the belt rides up, twists or digs into your side, it will slow you down and you will end up leaving tools on the floor or in your pocket. That is where accidents start.
- Keep the load light enough for a full shift.
- Choose pouches that open and close easily with one hand.
- Look for secure stitching and rivets at stress points.
- Make sure the belt adjusts properly over work clothes and a rain jacket if needed.
The small kit every apprentice should start with
Most apprentices do not need a heavy, full trade rig on day one. A starter belt should cover the basics and leave room to grow as the apprentice learns what is used most often. The first setup should suit the trade, but it must also be simple enough for a beginner to keep tidy.
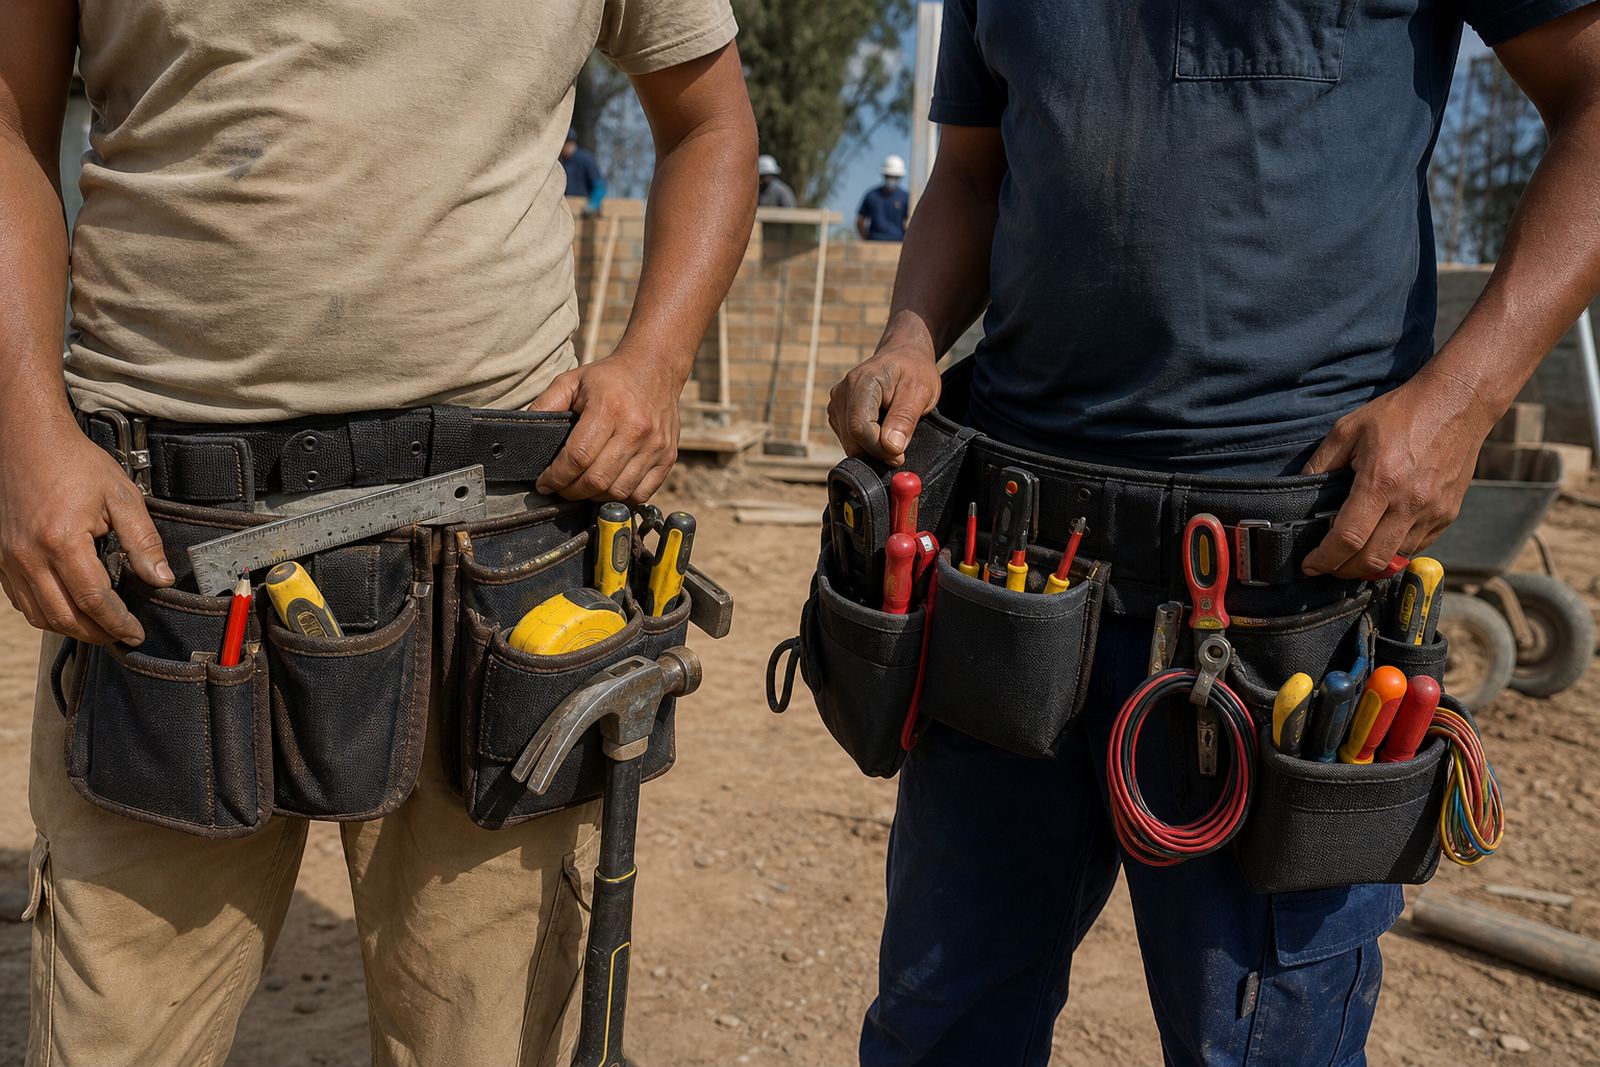
For builders, a first layout may hold pencil, tape, chalk line, utility knife, small level, nails, screws and a measuring tape. For electricians, the focus is often on insulated hand tools, tester, marker, tape, cutters and a few fasteners. If the pouches are too deep or too many, the apprentice starts hunting instead of working.
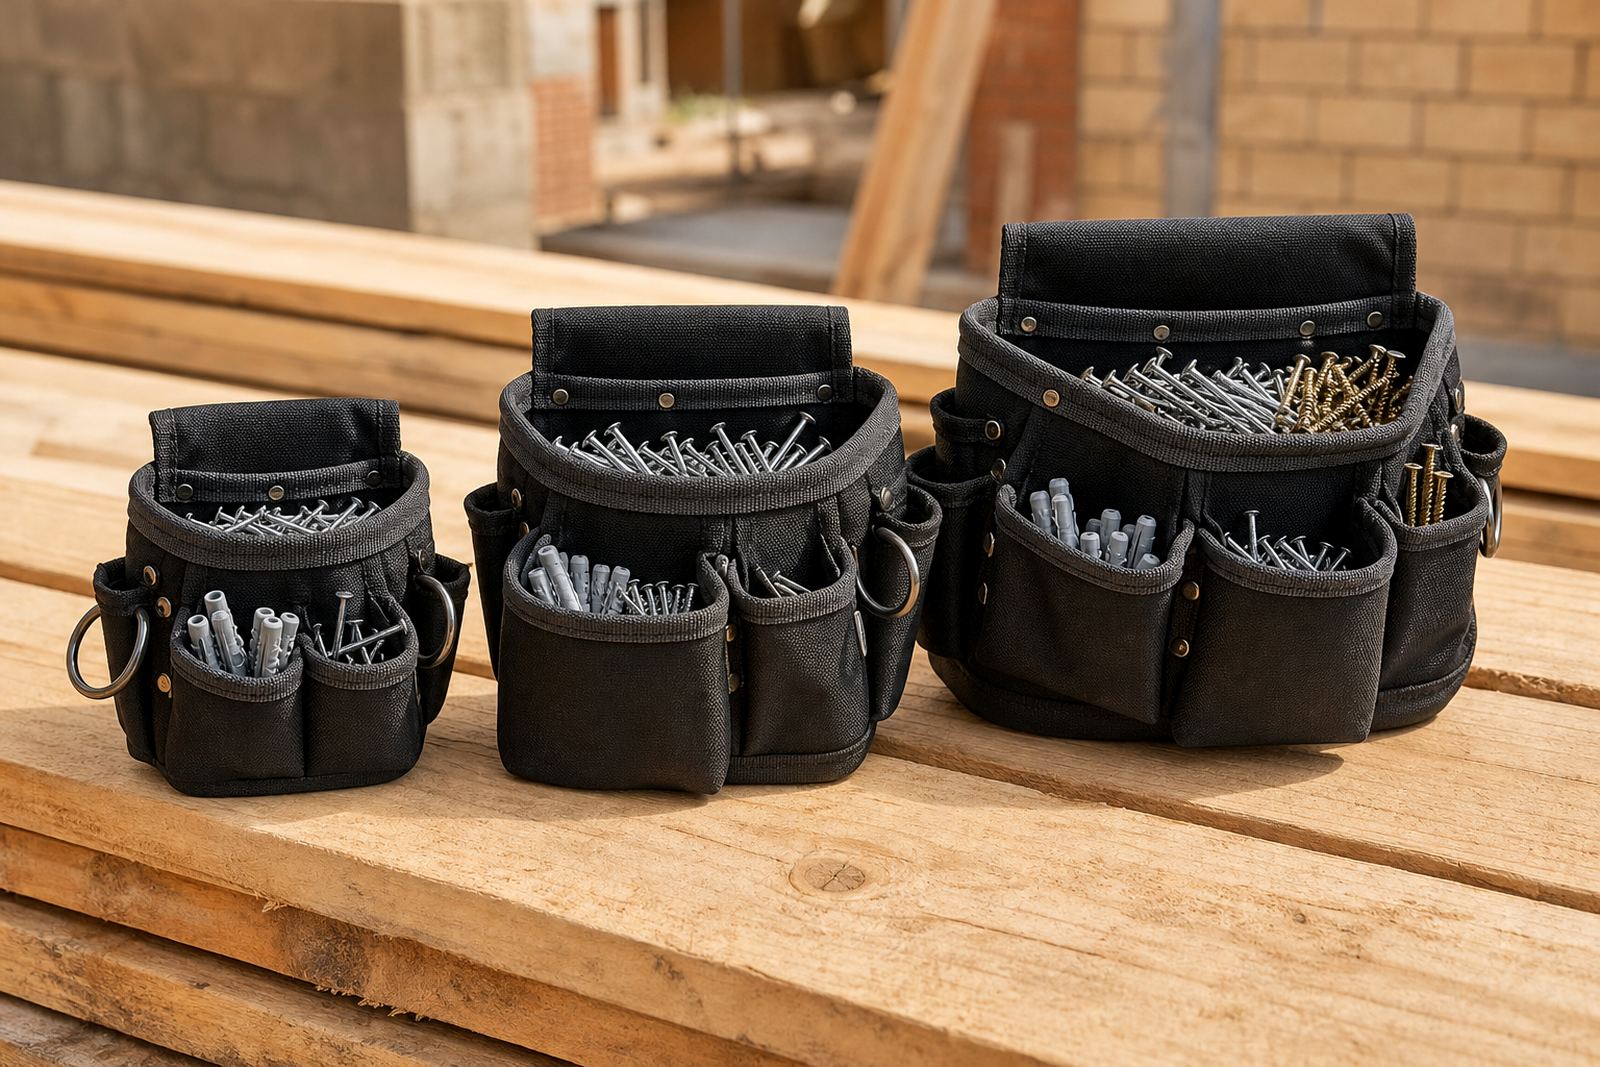
- One main pouch for fasteners and small fixings.
- One slim pouch for hand tools used every hour.
- A hammer loop or clip if the trade calls for it.
- A separate pocket for markers, tape and pencil so they do not disappear.
It is better to start with a tidy core set and add more only when the work demands it. That keeps the belt lighter and more practical on site, especially during long summer days around Gauteng where sweat and dust can make a bulky belt unpleasant very quickly.
Comfort matters more than looks when the day runs long
Apprentices often choose what looks impressive on the rack, then regret it by lunch. Comfort is what keeps a belt in use. A first setup should have padding where it touches the body, smooth edges, and a fit that stays stable whether the apprentice is kneeling, bending or reaching overhead.
The best belts are the ones you forget you are wearing. If the belt keeps shifting or pulls on one side, the apprentice will compensate by carrying tools in a hand or stuffing pockets. That creates a messy routine and makes it harder to learn proper tool control.
- Check the belt width so it sits comfortably over trousers or overalls.
- Make sure pouch placement does not jab the ribs or hip bone.
- Choose materials that can be wiped down after dusty or damp work.
- For coastal jobs in Cape Town or Durban, avoid setups that hold moisture too long.
At training centres, on housing sites, or on maintenance jobs in Midrand and Centurion, comfort directly affects concentration. A belt that feels fine for ten minutes can become a problem after a full morning of carrying and climbing, so the first fit should be tested with real tools inside it.
How to match the belt to the trade and the task
There is no single starter belt that suits every apprentice. A builder and an electrician may both need a light belt, but what they carry will differ. The right choice depends on the day-to-day job and the kind of supervision they work under.
For building work, the belt often needs more space for fasteners, chalk, tape, a marking knife and a hammer carry point. For electrical work, slimmer pouches and better separation for delicate tools usually work better. Apprentices who move between tasks may benefit from a mixed layout that keeps the common tools in front and the less used items on the sides.
When selecting the first setup, ask these practical questions:
- Will the apprentice be mostly on one site or moving between sites?
- Does the work involve ladders, scaffolding or tight spaces?
- Will the belt be used indoors, outdoors or both?
- Does the apprentice need room for fasteners, fittings or test gear?
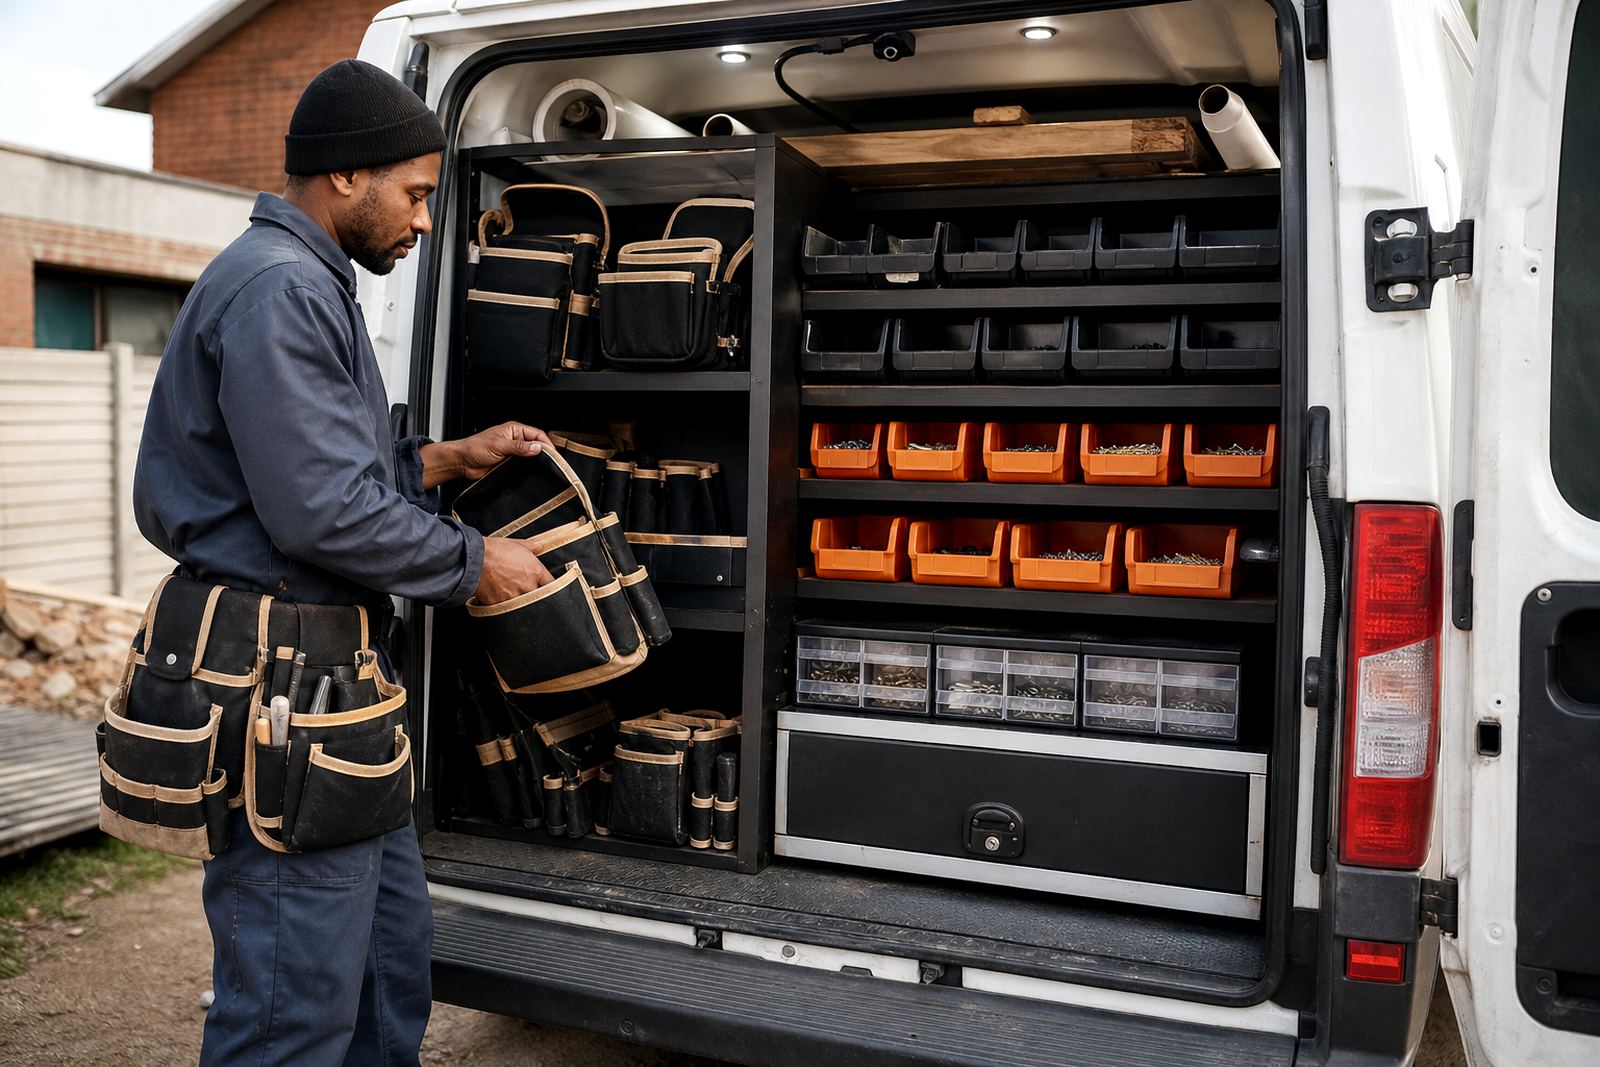
For a project rollout in Alberton or a mixed order heading to Pretoria and Polokwane, it helps to choose a belt that can be repeated across the team with small changes for each role. That makes stock control easier and training more consistent.
Avoiding the common first-belt mistakes
The most common mistake is buying too much. A starter belt loaded with every pouch and pocket looks ready for work, but it can overwhelm a new apprentice. The second mistake is ignoring sizing. If the belt does not fit properly, it will never feel right, no matter how good the materials are.
Another problem is poor layout. If the most used tools sit at the back, the apprentice is always twisting and reaching. That wastes time and can damage the back over a long shift. A first belt should be built around the hand movements of the work, not just the number of pockets.
- Do not overload the belt before the apprentice has learned the workflow.
- Do not choose a one-size-fits-all belt without checking fit.
- Do not mix sharp tools loosely with soft items or consumables.
- Do not ignore weather conditions, especially in coastal or humid areas.
Simple and tidy is usually better than fancy and crowded. That is especially true on South African sites where transport, weather and long workdays already put gear under pressure.
A practical first setup for an apprentice in Alberton
Here is a sensible starter arrangement for an apprentice on a construction or electrical site in Alberton. It is light enough for training, but useful enough for proper daily work. The idea is to build confidence without making the belt feel like a burden.
A balanced first setup could include a main pouch for fixings, a slim pouch for hand tools, a tape holder, a pencil slot and a secure loop for a hammer or similar tool. If the apprentice is in electrical work, one of the pouches can be reserved for testing and marking items instead of general fixings. The key is to keep every item in the same place each day.
- Main pouch: nails, screws, plugs or small fixings.
- Tool pouch: cutters, screwdriver set, pliers and similar hand tools.
- Front slots: pencil, marker and utility knife.
- Side carry: tape measure and one hanging point for a hammer or tool clip.
In practice, a good first belt in Alberton should be easy to restock, easy to clean and easy to teach. When the apprentice can find each tool without thinking about it, they work faster and make fewer mistakes. That is the real value of a starter setup, not just on day one but through the first few months of the trade.