Start With the Work You Do Every Day
An apprentice does not need a heavy rig loaded with every pouch under the sun. Start with the tools you reach for most often, then build from there as your tasks change. For many beginners, that means a tape, pencil, scraper, small pliers, a driver bit holder, and a few fixings. If you are on a busy site in Johannesburg or Durban, you will also want quick access without digging through a bag every ten minutes.
Keep the first setup light enough to wear for a full shift. If the belt pulls on the hips or bounces when you climb a ladder, it is too much. Simple carry helps you learn good habits and keeps the focus on the job, not on where you left the next screw.
- List the tools you use on most jobs.
- Choose only the items needed for your current trade tasks.
- Leave space for a few extras, not a full workshop.
- Test how it feels when bending, squatting and climbing.
Pick the Right Belt and Pouch Mix
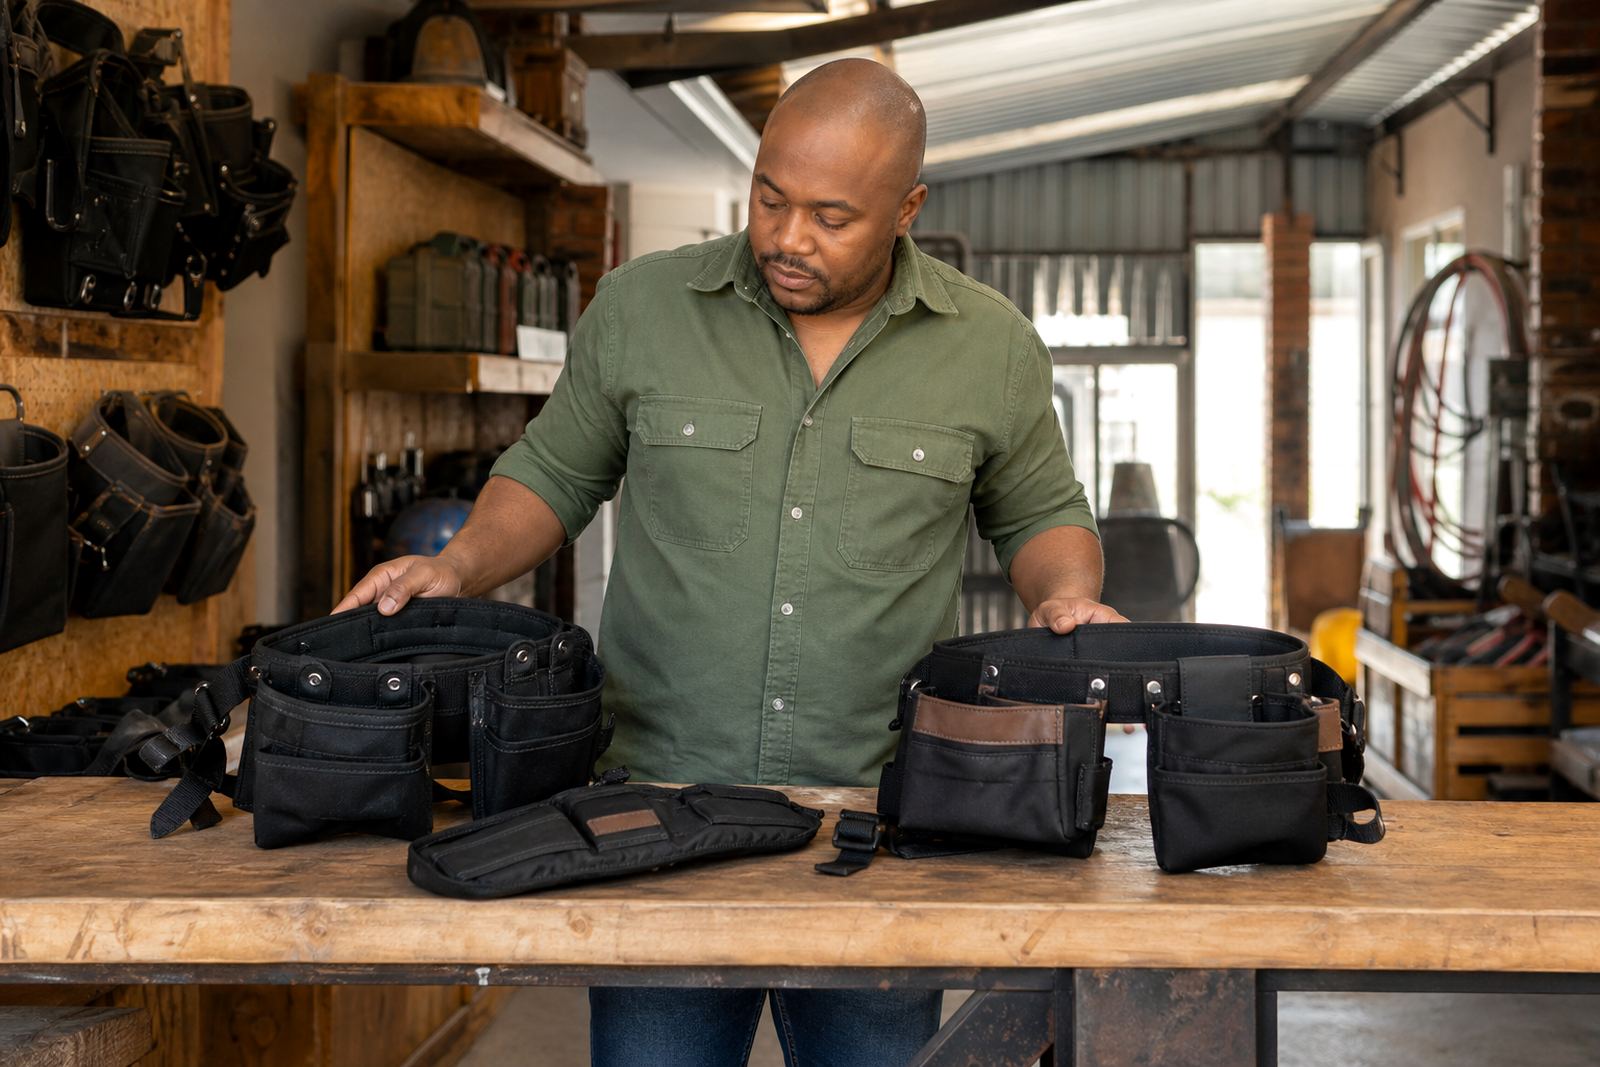
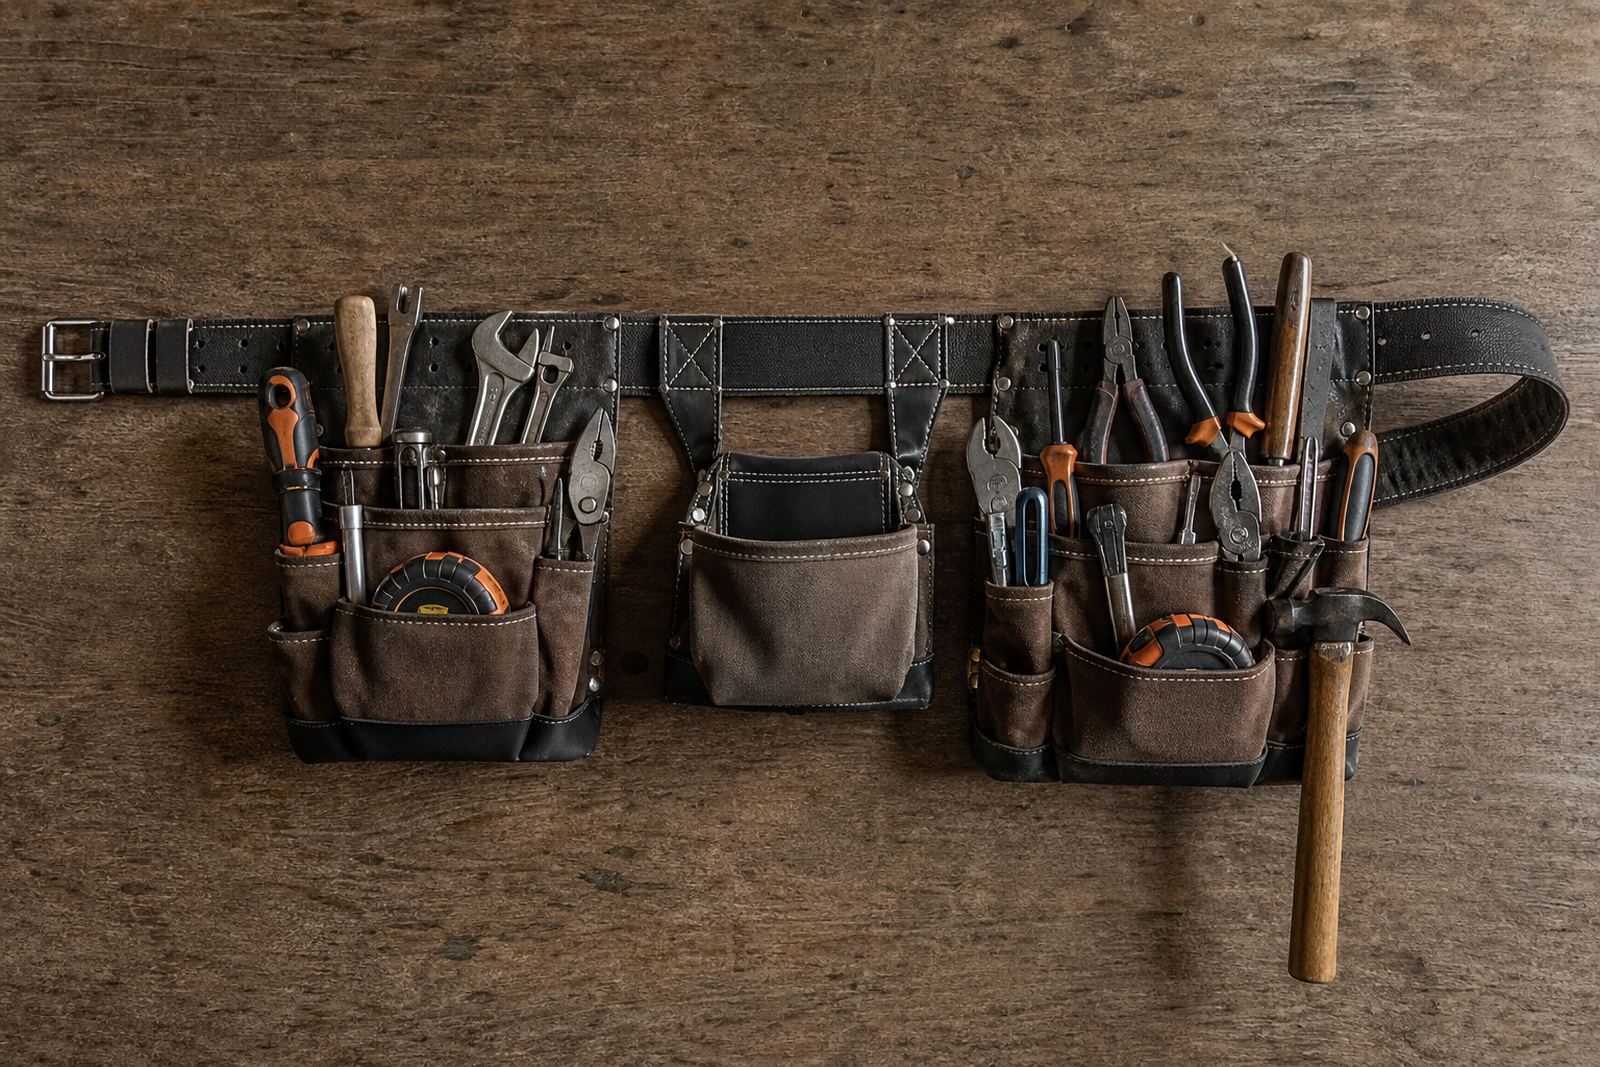
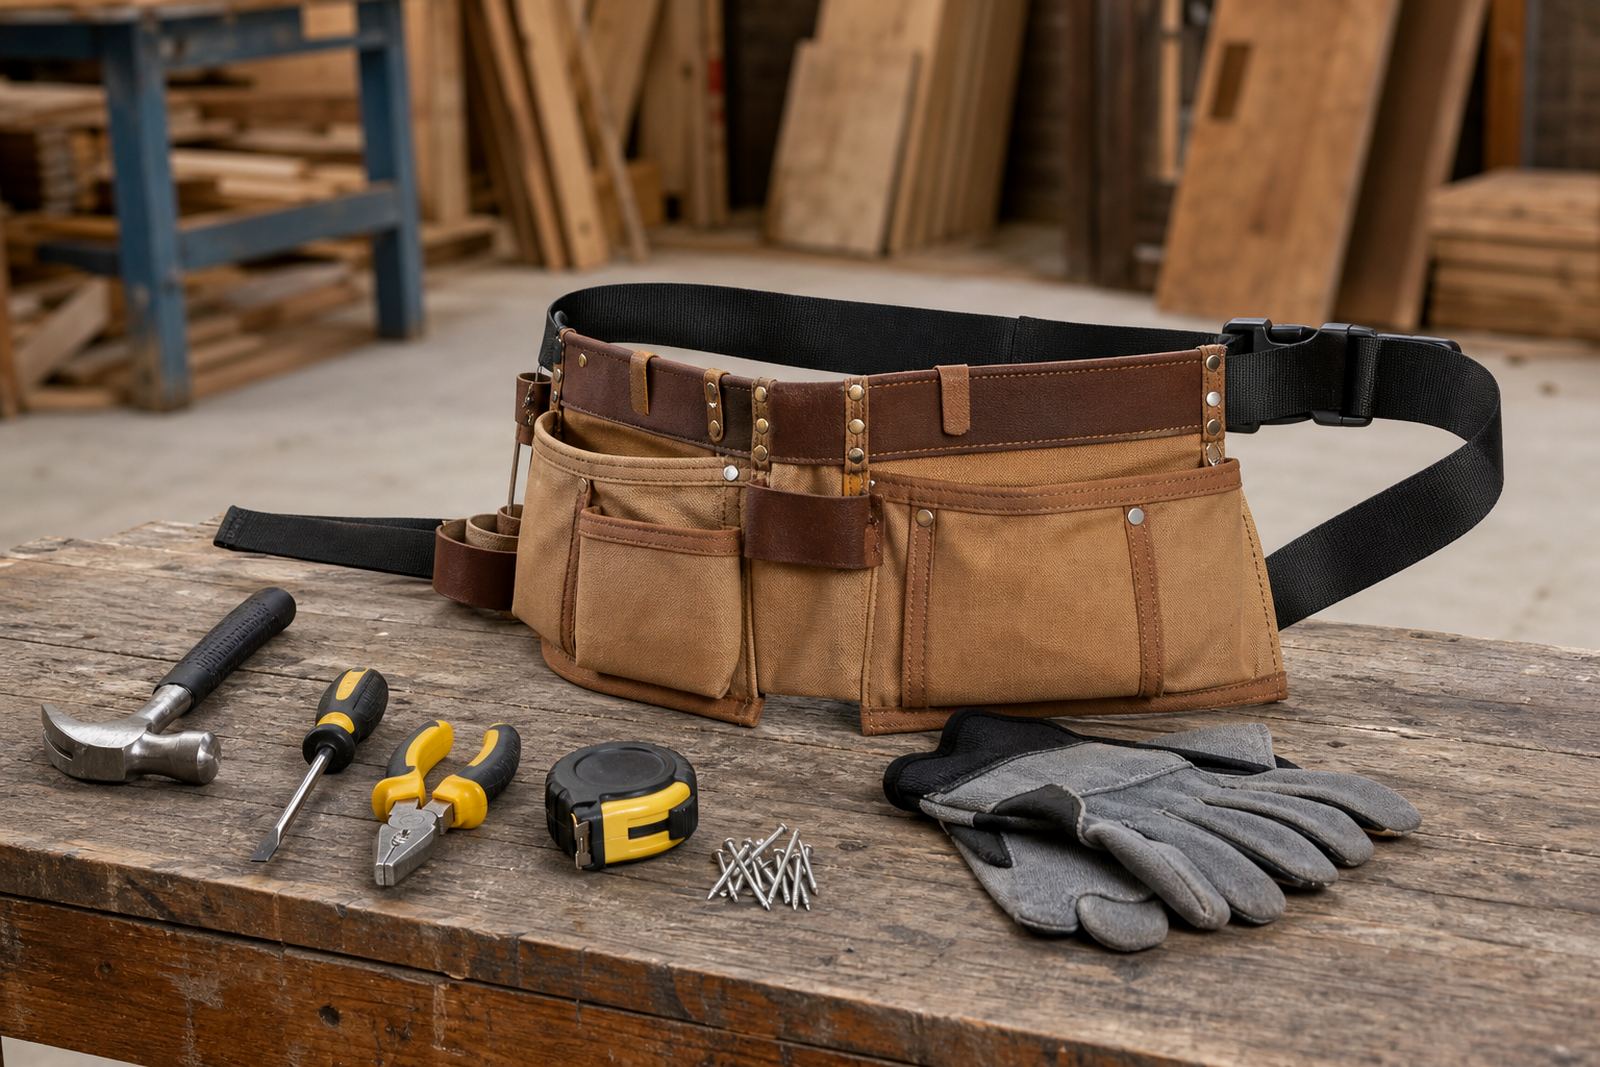
The best starter setup is usually a utility waist belt with one or two compact pouches. Builders often prefer a mix of open slots and deeper pockets for nails, screws and small hand tools. Electricians often need slimmer pouch shapes that keep screwdrivers, testers and cutters separate. A good belt should adjust easily and sit flat at the waist, not twist when loaded.
Look for strong stitching, proper reinforcement at stress points and a belt that can handle daily wear. In coastal areas like Cape Town and Durban, moisture can be hard on metal fittings, so keep an eye on rust and clean the gear regularly. In hotter inland areas, a belt that dries quickly after sweat or rain is worth the extra Rand.
- Choose a belt that matches your waist size with room for a jacket or work shirt.
- Check that pouches are fixed securely and do not swing around.
- Make sure the belt buckle is easy to fasten with gloves on.
- Go for materials that can handle dust, concrete and repeated use.
Affordable Starter Set Checklist
If you are buying on a budget, focus on value rather than extras. A basic apprentice set should carry the essentials and nothing that gets in the way. You can add more pouches later when you know your workflow better. This approach also helps with bulk starter orders for training groups or contractor onboarding, where one size does not suit everyone.
Use this checklist before you order:
- 1 utility belt with an adjustable fit.
- 1 main pouch for fasteners and mixed small items.
- 1 tool pouch for hand tools you use every day.
- Optional loop or clip for tape measure storage.
- Space for a pencil, marker and utility knife if needed.
- Enough room for gloves or a small notebook when required on site.
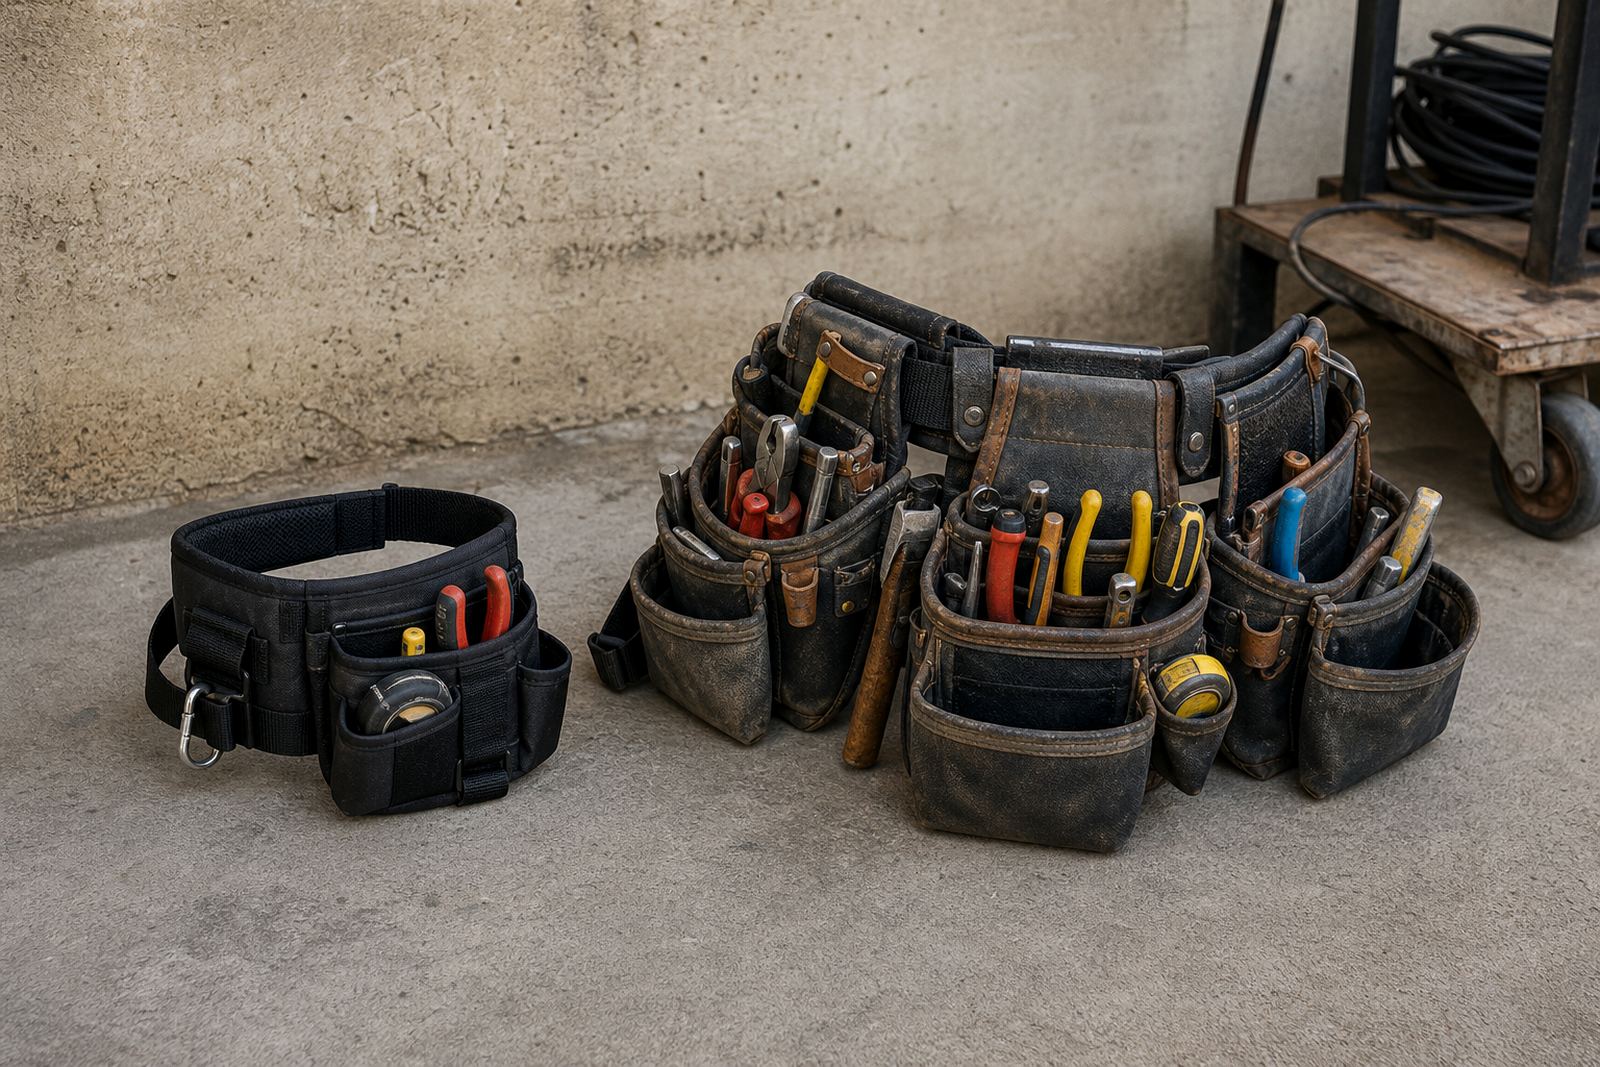
If you are unsure, start smaller. Many apprentices buy too much at first then end up carrying dead weight. A lean set is usually more comfortable and less expensive, which matters when you are still building your kit.
How to Match the Belt to Your Trade Tasks
Different jobs need different carry habits. Builders often need wider access for nails, screws and small fixings, while electricians usually prefer cleaner separation for tools and test items. A starter setup should suit your current site role, not the job title on paper. If you move between tasks, choose a layout that can handle both without clutter.
For electrical work, keep sharp tools and small accessories in pockets that are easy to see and reach. For building work, deeper pouches help stop loose fixings falling out when you bend or climb scaffolding. In mixed trade crews around Midrand and Centurion, a simple mid-size setup often works best because it can support more than one task without becoming bulky.
- For builders: go for deeper pouches and room for fixings.
- For electricians: favour slimmer compartments and clean separation.
- For mixed trade jobs: choose a middle ground with flexible storage.
- For site rollout teams: standardise the layout where possible.
Fit, Comfort and Safety Checks Before You Buy
A belt that fits badly can slow you down and cause strain by lunch time. Before buying, check where the load sits on the hips and whether the pouches stay balanced when filled. A good setup should feel stable when walking, kneeling or reaching overhead. If one side drags, adjust the pouch positions or reduce the load.
Try this quick fit check:
- Put on the belt over your normal work clothes.
- Load it with the tools you will carry most often.
- Walk 20 metres, bend, squat and climb a few steps.
- Check for rubbing at the hips, thigh or lower back.
- Make sure the buckle stays secure and does not slip.
Safety matters too. Do not overload a belt with heavy spanners, loose cutters or sharp items that can fall out. Keep blades secured and avoid hanging items that could snag on ladders, timber or conduits. A neat layout is safer and faster.
When to Add Extras and How to Grow the Kit
Once the first belt is working well, then you can add extras based on real use. That might be a second pouch, a nail bag, a holder for a tape measure or a small clip for fast access. The right time to add is when you notice the same missing item becoming a daily irritation, not just because the gear looks full.
For apprentices moving into longer site runs, it can help to plan the next step in stages. Start with the basics, then add a better pouch layout, then consider starter kit builds for new team members. This keeps spending under control and helps you avoid buying gear you never use. A practical kit is worth more than a flashy one, and it usually lasts longer too.
- Add one item at a time and test it for a week.
- Keep the carry set light enough for all-day use.
- Replace worn pouches before they start failing on site.
- Store the belt dry and clean after every shift.
For teams in Alberton and across South Africa, a simple starter belt is often the best place to begin. It keeps apprentices organised, reduces waste and gives room to grow as skills improve.