Start With the Job You Do Most Days
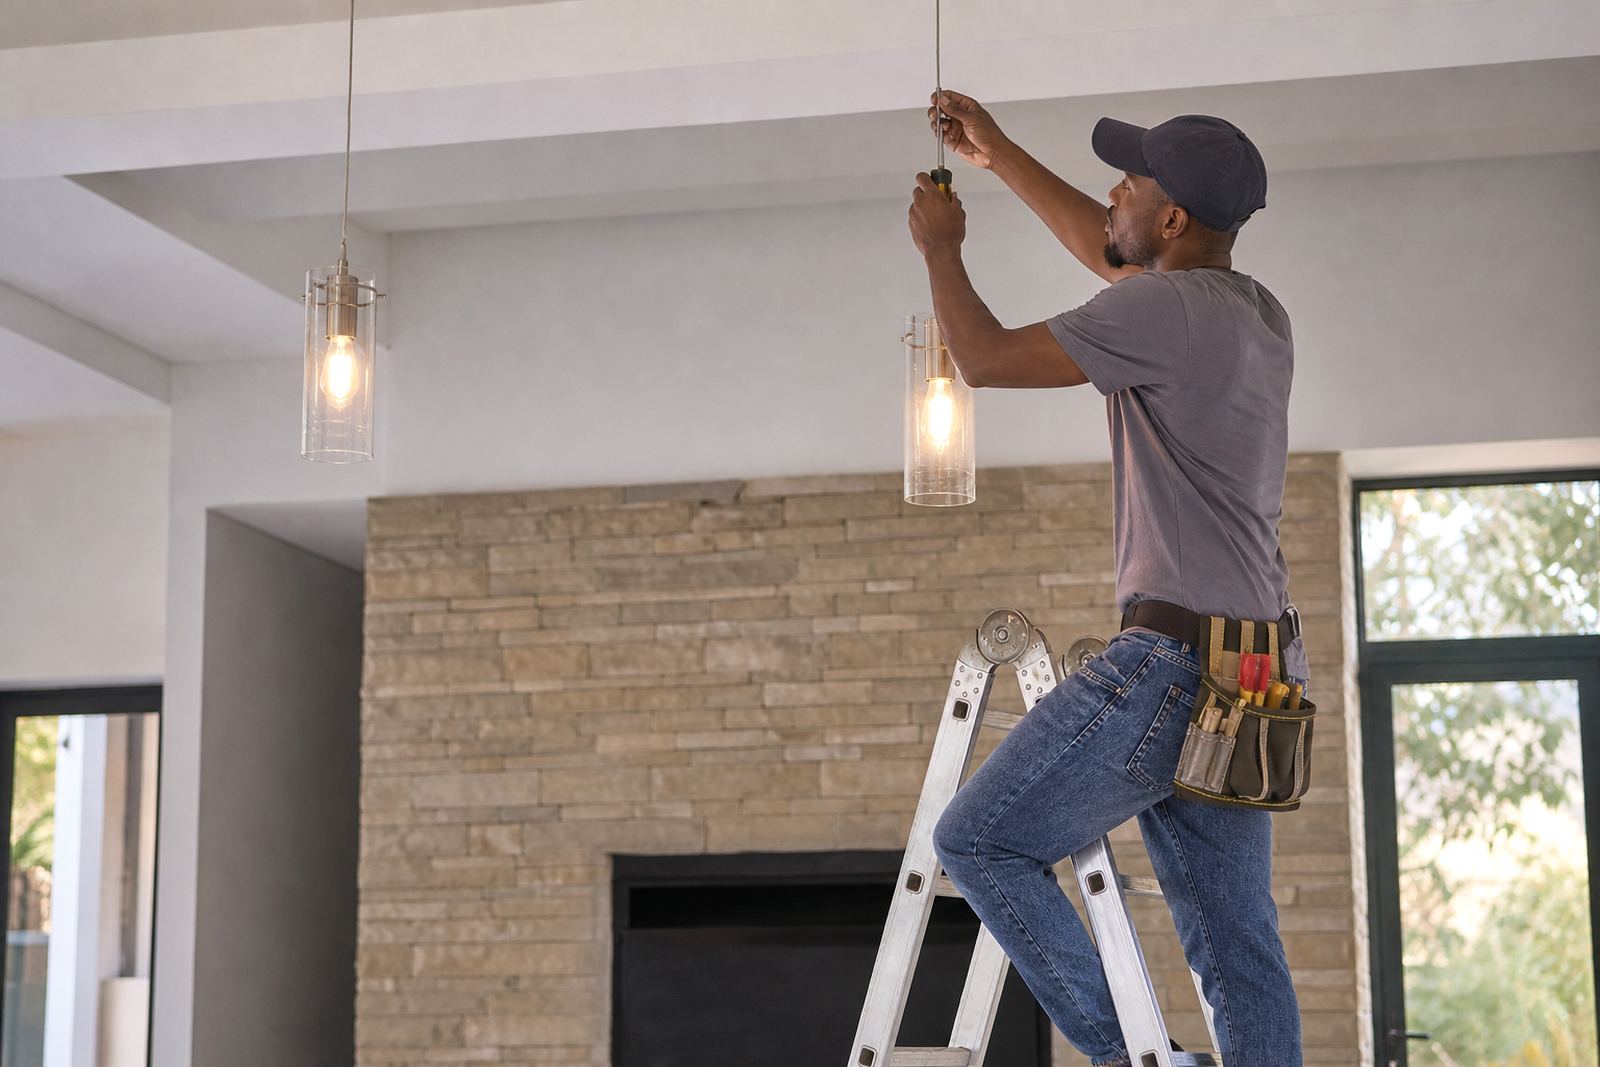
If you split time between first fix, fitting off, and general site work, your first belt should carry the tools you use all day, not every tool you own. Builders often need room for tape, pencil, knife, square and fixings, while electricians usually want space for cutters, screwdrivers, pliers, tester accessories and small connectors. In Alberton, Johannesburg and Pretoria, many contractors keep one belt for daily calls and another kit for bigger rollout work.
Think about the job pace too. If you are moving up ladders, working in tight ceiling spaces or jumping between flats, a lighter setup makes a big difference by 3 pm when the weight starts to tell.
Choose a Belt Size That Sits Right at the Hips
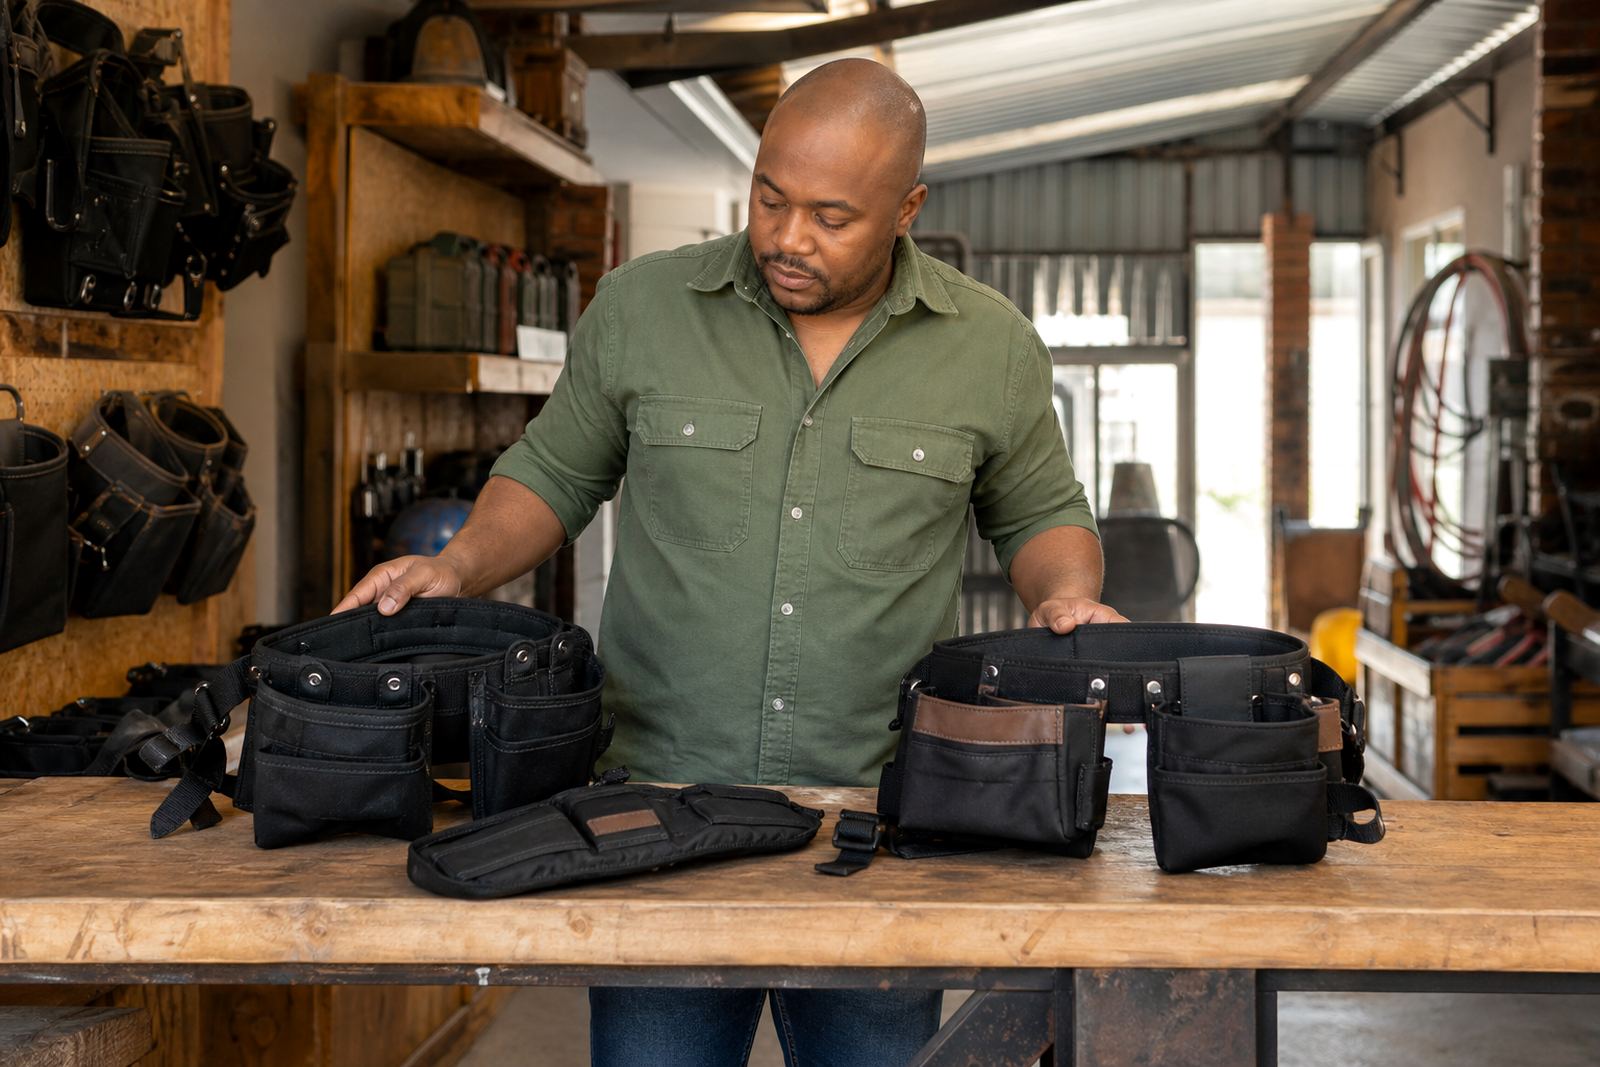
A belt that sits too high digs into your ribs, and one that rides too low pulls on your lower back. The right fit should feel snug when loaded, with enough adjustment for a jersey in winter or a thin shirt in summer. Measure around your work trousers at the point you want the belt to sit, then allow a little extra for clothing and movement.
- Check that the buckle closes without strain.
- Make sure the pouches do not slide when you bend down.
- Walk, climb steps, and squat before committing to the size.
- If you work coastal jobs in Durban or Cape Town, choose materials and stitching that handle humidity and salt air better.
A good fit saves time because you are not stopping to pull the belt back into place every few minutes.
Match Pouch Layout to Left-Handed or Right-Handed Use
Layout matters more than most first-time buyers expect. If you are right-handed, you may want the main pouch slightly left of centre so your dominant hand can reach tools quickly. Left-handed users often prefer the opposite. Try to keep the heaviest items balanced across both sides, especially if you carry hammer loops, large fastener pockets or a radio pouch.
For electricians, a cleaner layout with smaller compartments can stop insulated tools from tangling with loose screws. Builders may prefer deeper pouches for nails, plugs and larger fixings. If you work on municipal sites or housing projects with set site rules, a tidy layout also makes checks easier at the gate.
Build a Starter Kit Instead of Buying Too Much at Once
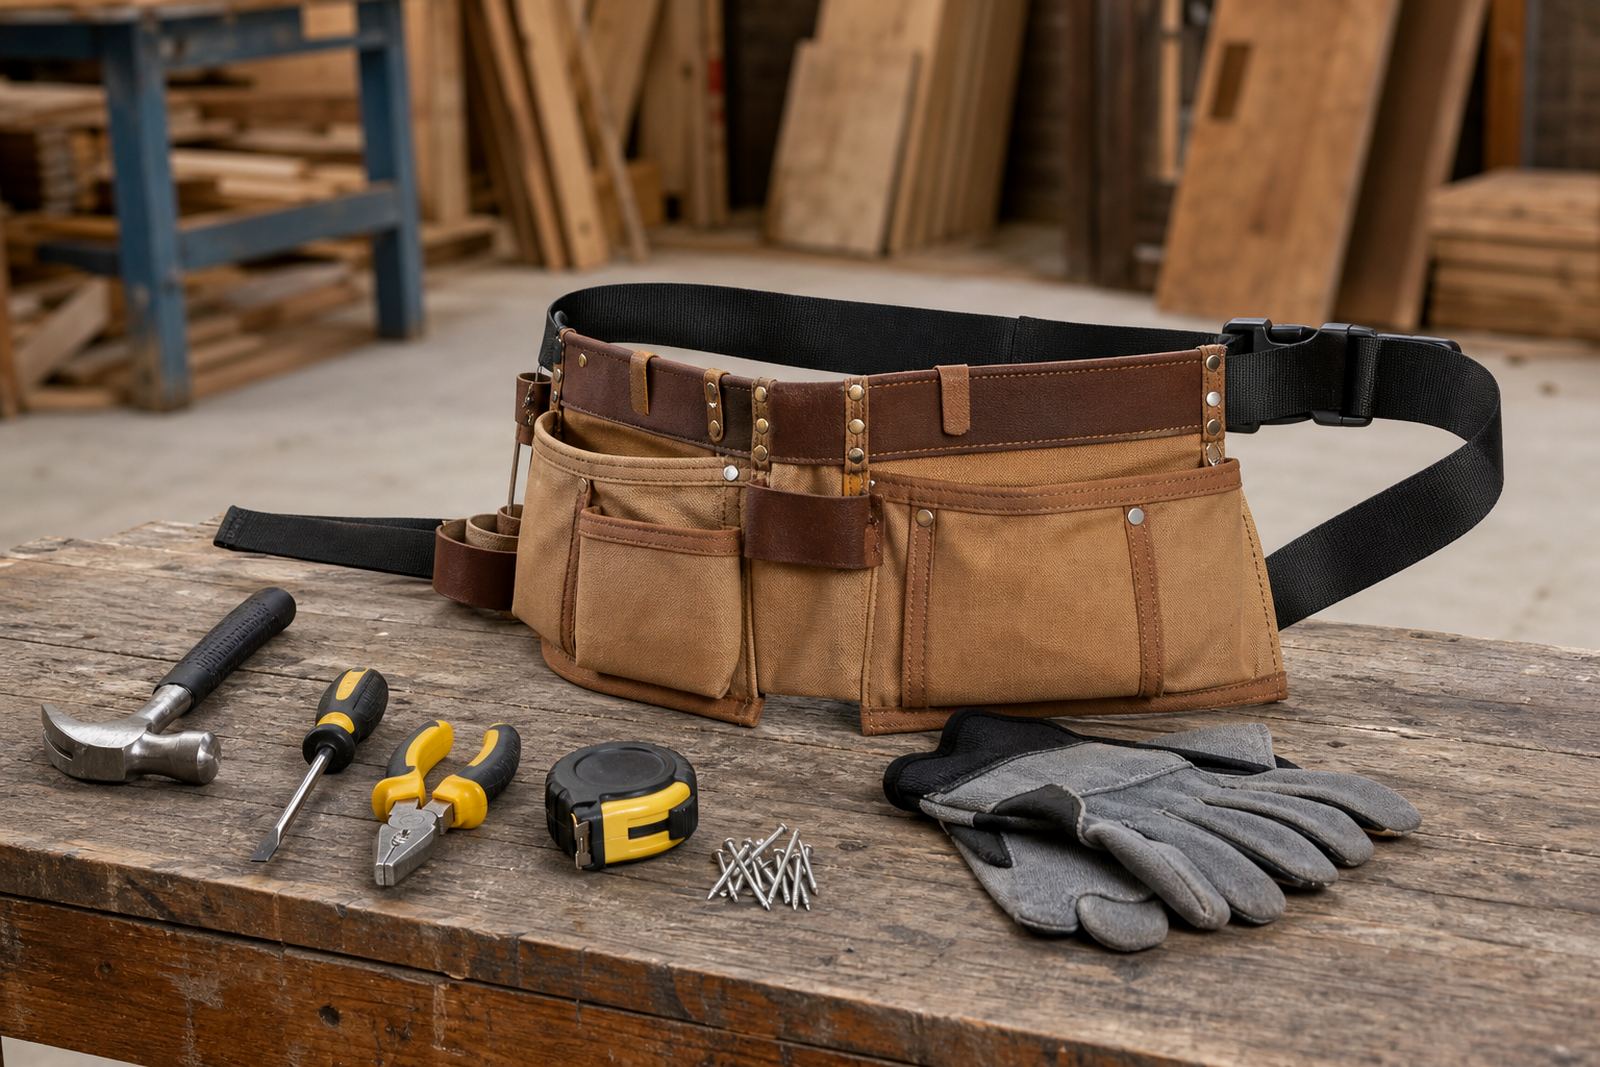
Your first setup does not need to cover every future job. Start with the items you touch constantly and add extras after a few weeks of real use. This keeps the belt lighter and helps you see what is actually missing. A starter kit can be as simple as one belt, two pouches and a hammer loop, then a second pouch added later if needed.
- One utility waist belt with secure adjustment.
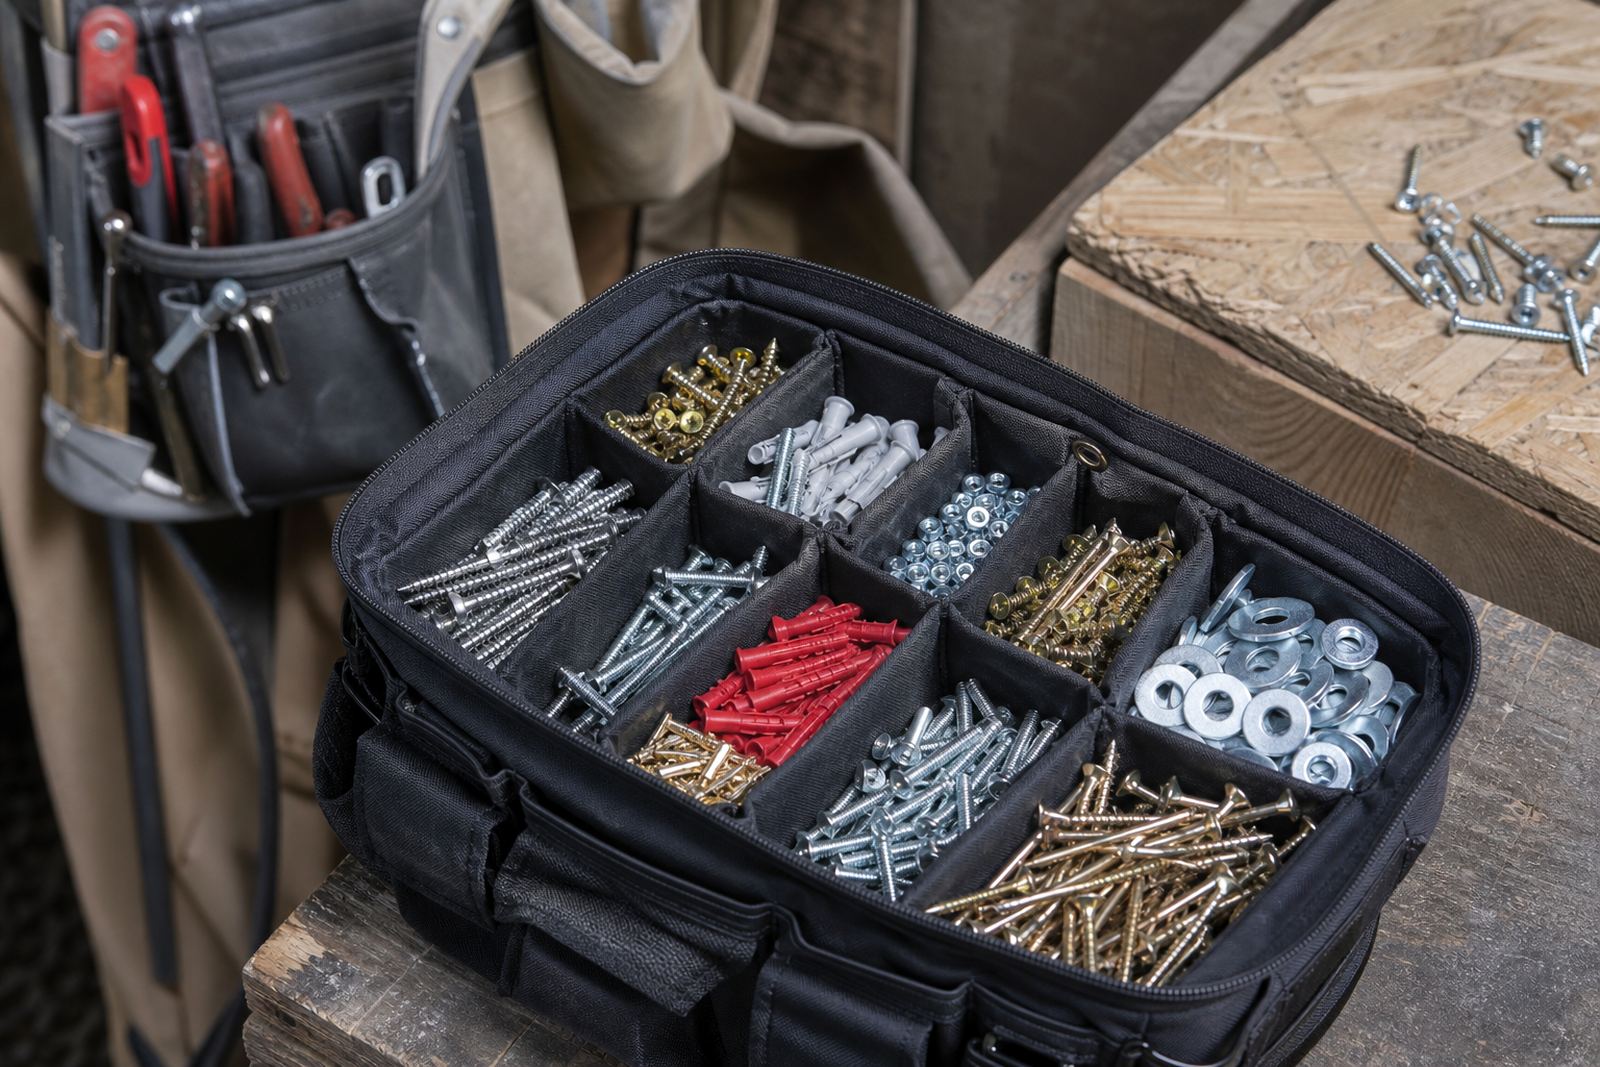
- One main pouch for fasteners or small parts.
- One tool pouch for daily hand tools.
- One loop or holder for a hammer or multi-purpose tool.
- Optional small pocket for pencil, knife, tape or test accessories.
Many first-time buyers in Midrand and Centurion find this approach easier on the budget, especially when they are kitting out a new team or replacing worn gear after a few busy sites.
Choose Materials That Suit South African Conditions
Heat, dust, rain and rough handling all affect how long a belt lasts. If you work inland around Pretoria or Polokwane, dust and dry conditions can wear down stitching and pocket edges. On coastal projects in Durban and Cape Town, moisture can make cheap hardware rust faster. Look for strong webbing, reinforced seams and pockets that hold shape when full.
You also want easy cleaning. Fine plaster dust, timber shavings and cable offcuts build up quickly. A pouch that wipes down easily saves time at the end of the day, especially when load-shedding has pushed the shift later than planned.
Think About Weight, Balance and Comfort on the Move
A belt is supposed to help you work faster, not leave you sore by lunchtime. Keep the heaviest tools close to your body and avoid loading one side too heavily. If you carry a drill, long pliers or a heavy multimeter case, try not to hang them all on the same side. That kind of imbalance pulls at your hip and lower back.
When testing a setup, move like you would on site: bend, kneel, climb, reach overhead and get in and out of a bakkie. If the belt shifts, pinches or bounces, it will do the same on the job. A comfortable belt should stay put without constant adjustment.
Use a Simple Checklist Before You Place an Order
Before you choose a first belt, write down what you carry in a normal day. This helps you avoid overbuying and keeps the pouch layout practical. It also makes it easier to compare starter kits, mixed trade kits and custom orders for your crew.
- List the five tools you use most often.
- Count the small items you lose most often.
- Note whether you work right-handed or left-handed.
- Check your waist size with winter and summer clothing in mind.
- Decide if you need a builder layout, electrical layout or a mixed setup.
- Plan for delivery timing if the job starts next week.
If you are buying for more than one person, ask each worker how they want the weight spread. A setup that suits one installer may feel wrong for another, so a little planning now saves a lot of swapping later.
When to Ask for Help With the Setup
If you are still unsure, get help with pouch layout planning before you order. That is especially useful for contractor teams, electrical crews and builders working across Johannesburg, Durban, Cape Town, Polokwane or smaller towns where stock needs to be right first time. A good first belt should fit the job, the person and the way the site runs.
At Waistbags Pro in Alberton, we help with belt size matching, starter kit builds, mixed trade kits and project rollout supply. If you know what kind of work you do but are not sure how to arrange it, ask for a practical recommendation and keep the setup simple to begin with.