Start With Your Waist Measurement, Not Your Jeans Size
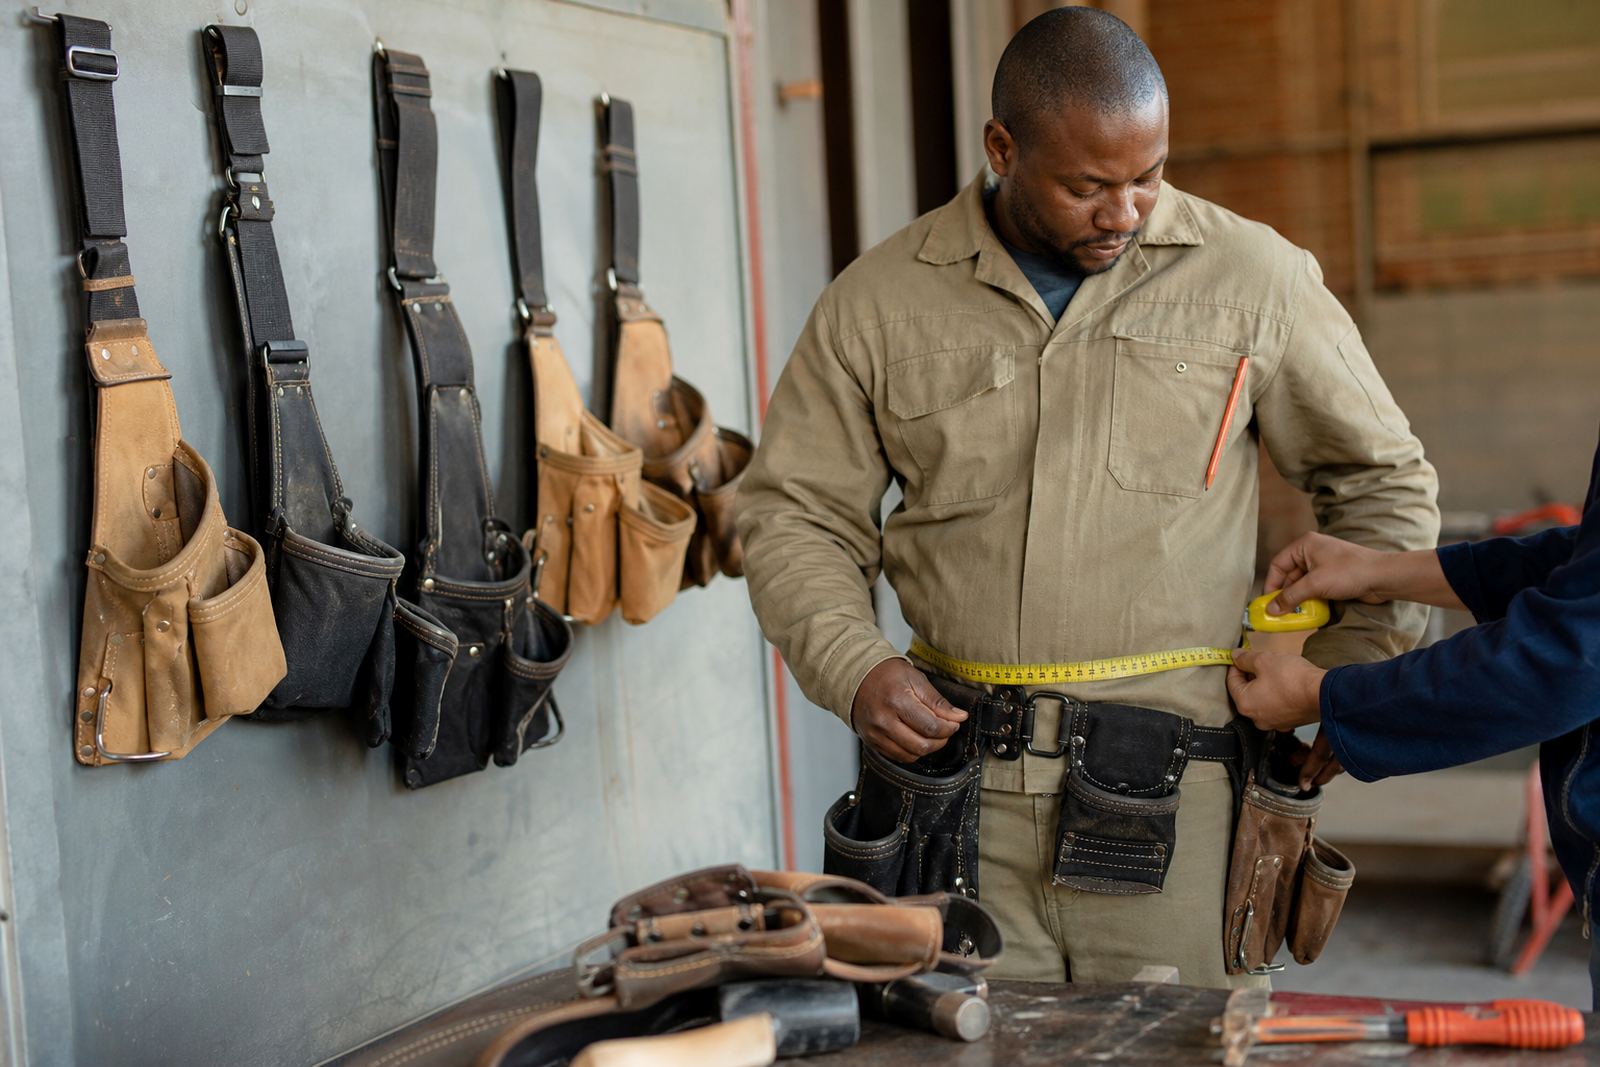
The most reliable way to size a tool belt is to measure where the belt will actually sit, usually around the waist or slightly lower on the hips depending on how you wear your kit. Use a soft measuring tape and stand normally, not sucking in your stomach or pulling the tape too tight. If you wear a thick work shirt, hoodie or rain jacket, measure over that layer so you get a practical working size.
Jeans sizes can be misleading because different cuts sit at different points on the body. A 34 inch trouser does not always mean a 34 inch belt once you add a pouch, hammer loop, tape measure and a few hand tools. For builders and electricians in Gauteng coastal or inland conditions, comfort matters because the belt may stay on from first lift to knock-off, and a poor fit gets painful fast.
- Measure at the exact point where the belt will rest
- Record the size in inches and centimetres if you can
- Measure over your usual work layer if you wear one
- Do not size off casual trousers alone
Allow Space For Layers, Movement and Tool Load
A tool belt should fit snugly but never pinch. You need enough room to bend, crouch, climb ladders and work overhead without the belt digging into your stomach or riding up. If you are on site in winter in Pretoria or early mornings in Polokwane, extra clothing can change the fit by a full size so it is wise to check that first.
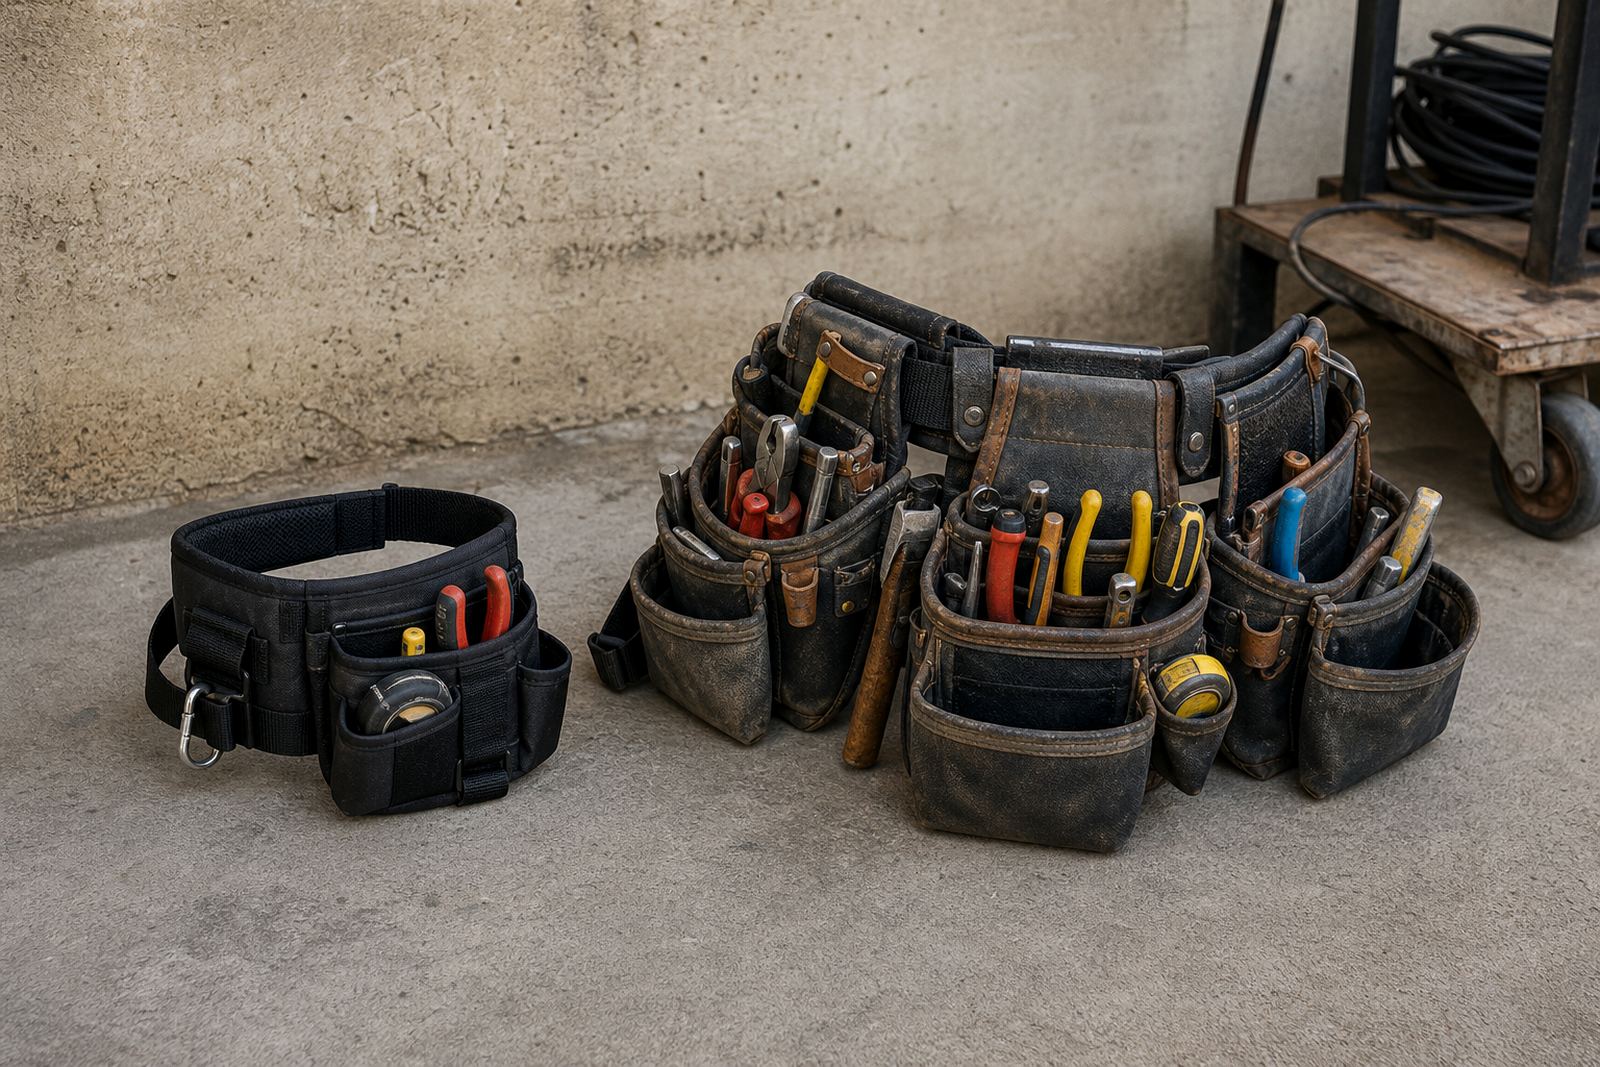
Think about what you carry every day. A light electrical pouch and a clip-on tape holder need less adjustment than a heavy nail bag setup with multiple pockets. If your load changes from job to job, choose a size that gives you a little adjustment range both ways. That helps when the same belt is worn by different team members too.
- Leave room for a shirt, hoodie or jacket underneath
- Check that the belt still closes after loading your tools
- Make sure bending forward does not cause pressure at the front
- Test the belt while walking, squatting and climbing stairs
Match The Belt To Your Trade and Daily Kit
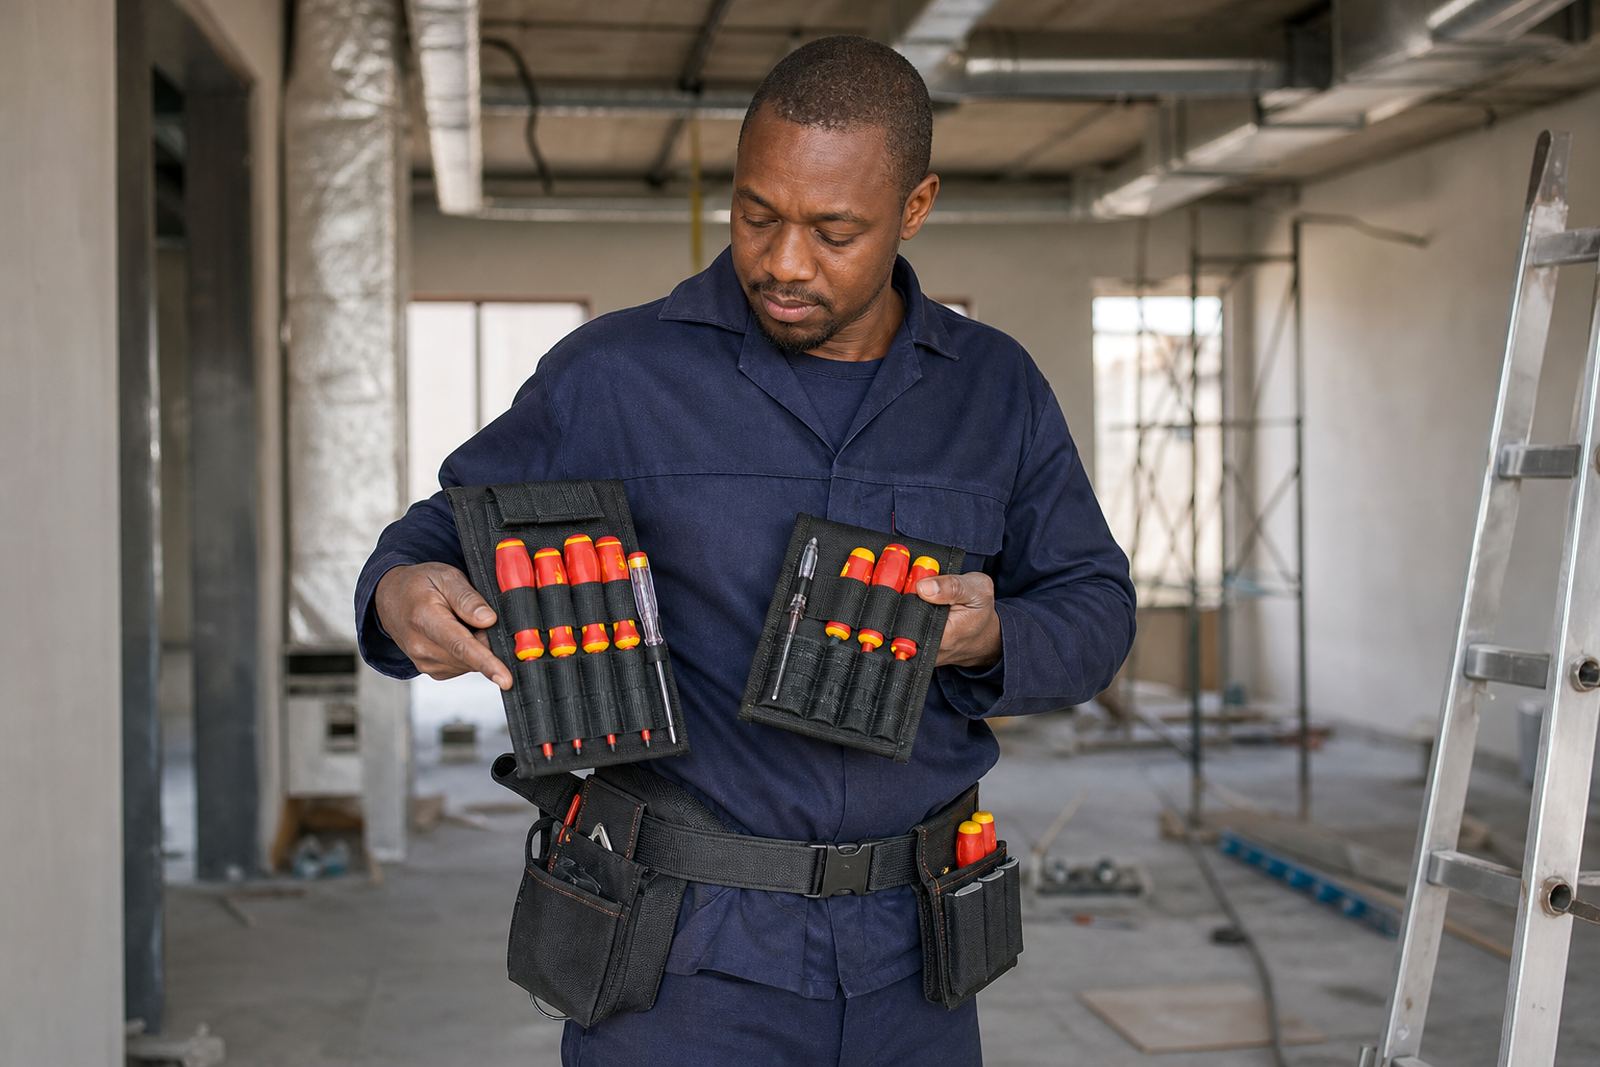
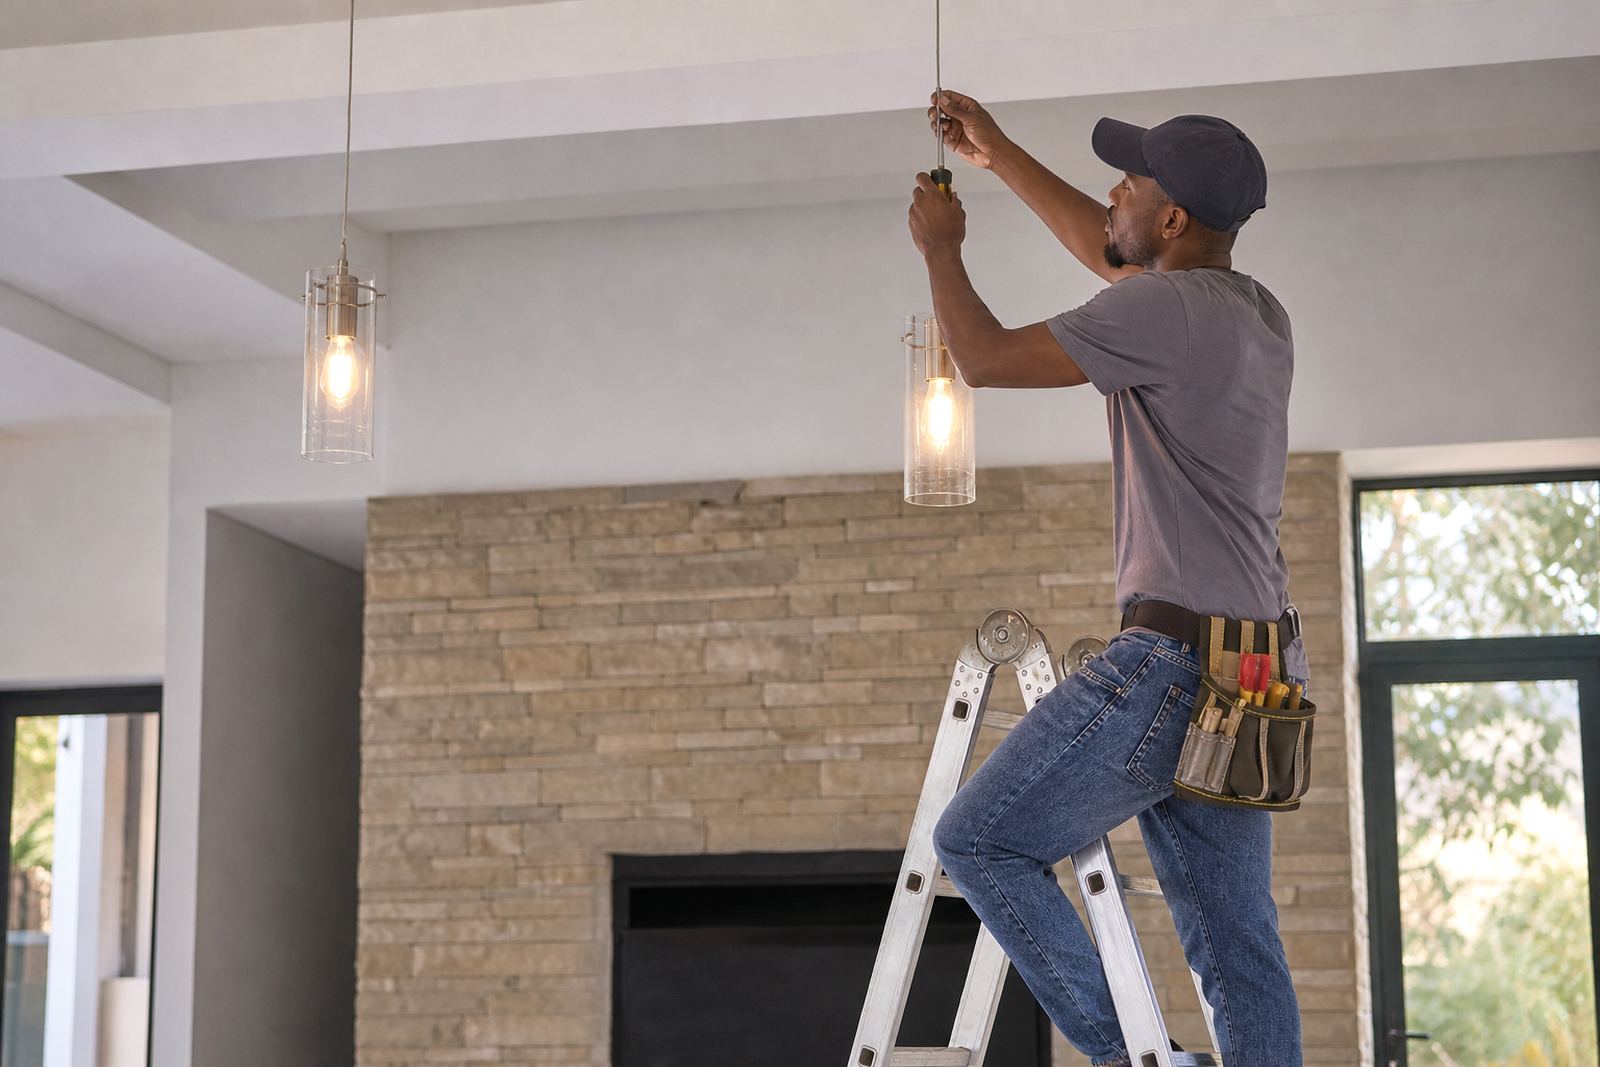
Electricians and builders often carry different sets of tools, so the belt layout matters as much as the waist size. An electrician may want a lighter setup with smaller pouches, insulated hand tools and a clean layout for quick access. A builder may need deeper nail bags, a hammer loop and more storage for fast moving work. The right size helps the belt sit evenly instead of pulling to one side.
If your pouch layout is top heavy or one side carries more weight, the belt can twist if it is too loose. A properly matched belt keeps the load centred around the waist and gives the hips more support. That is especially useful on long renovation jobs, slab work or site maintenance where you are on your feet for hours and cant keep stopping to adjust gear.
When you are choosing a setup, ask yourself how the belt will be used on site, not just how it feels in the shop. A fit that works for quick domestic repairs may not suit a full day on a commercial build in Johannesburg or a service run across multiple sites in Durban.
Check The Fit Before You Load The Pouches
Once the belt is around your waist, the buckle should fasten without strain and still leave room for adjustment. You should be able to slide one or two fingers between the belt and your body, but not much more. If it spins around easily, it is too large. If it leaves marks or feels tight after ten minutes, it is too small.
A good test is to wear the belt for 15 to 20 minutes while moving around. Bend, kneel and reach above your head. If the pouches stay in place and the buckle does not shift, you are on the right track. Try to do this before loading it fully because a full pouch set can hide fit problems at first, then show them later in the day.
- Buckle closes smoothly without forcing
- Belt stays level when walking
- Pouches do not swing forward when you bend
- No sharp pressure points at the hips or stomach
Use Belt Size Matching For Team Orders and Starter Kits
If you are kitting out a crew, belt size matching is worth doing properly from the start. A mixed team with different body sizes, different layers and different job duties will need a few sizes rather than one standard issue fit. This cuts down on returns, wasted time and the common problem of belts being worn too loose just to make them usable.
Starter kits are easier to manage when each person is measured before the order is finalised. For contractor teams in Alberton, Midrand, Centurion and beyond, it helps to note each worker's waist size, usual clothing layers and trade role. That way the right belt can be allocated with the right pouch layout from day one. It also helps when a site supervisor needs a quick stock refill and does not want to guess who needs what.
For bulk orders, keep a simple list of sizes and the type of work each person does. It makes future replenishment easier and keeps the kit consistent across projects.
Common Sizing Mistakes That Cost Time On Site
The biggest sizing mistake is choosing a belt that is slightly too large because it feels easier in the shop. Once you load tools, that extra slack becomes movement, and movement becomes discomfort. Another common mistake is sizing too small because the wearer expects the belt to stretch. A tool belt that is already tight will only feel worse after a few hours, especially in hot weather or when worn over winter layers.
Also watch for belts that sit too high and interfere with the stomach when crouching, or too low and pull the pouch weight off balance. In humid conditions near the coast, materials can feel warmer and stiffer too, so a fit that is already borderline can become a problem. If your belt needs constant adjustment, it is the wrong size or the wrong style. Dont wait for the first site day to find out.
- Do not size off an unladen belt only
- Do not ignore thick workwear layers
- Do not choose a fit that slips during walking
- Do not assume one size works for every trade role
Quick Final Fit Check Before You Order
Before you place an order, confirm three things: the waist measurement, the type of workwear usually worn underneath, and the tool load that will sit on the belt. If all three line up, the belt is far more likely to feel secure from the start. For teams working across South Africa, that simple check can save a lot of back-and-forth and keeps jobs moving.
If you are unsure between two sizes, think about the heavier load and the colder months first. It is usually better to have a little adjustability than to end up with a belt that is too tight once everything is clipped on. A correct fit should let you work confidently, move freely and keep your essential tools where you need them.
When in doubt, measure again and compare the numbers before you buy. A few minutes spent on sizing now is better than a week of discomfort later.