
Built for roof work where every hand movement counts
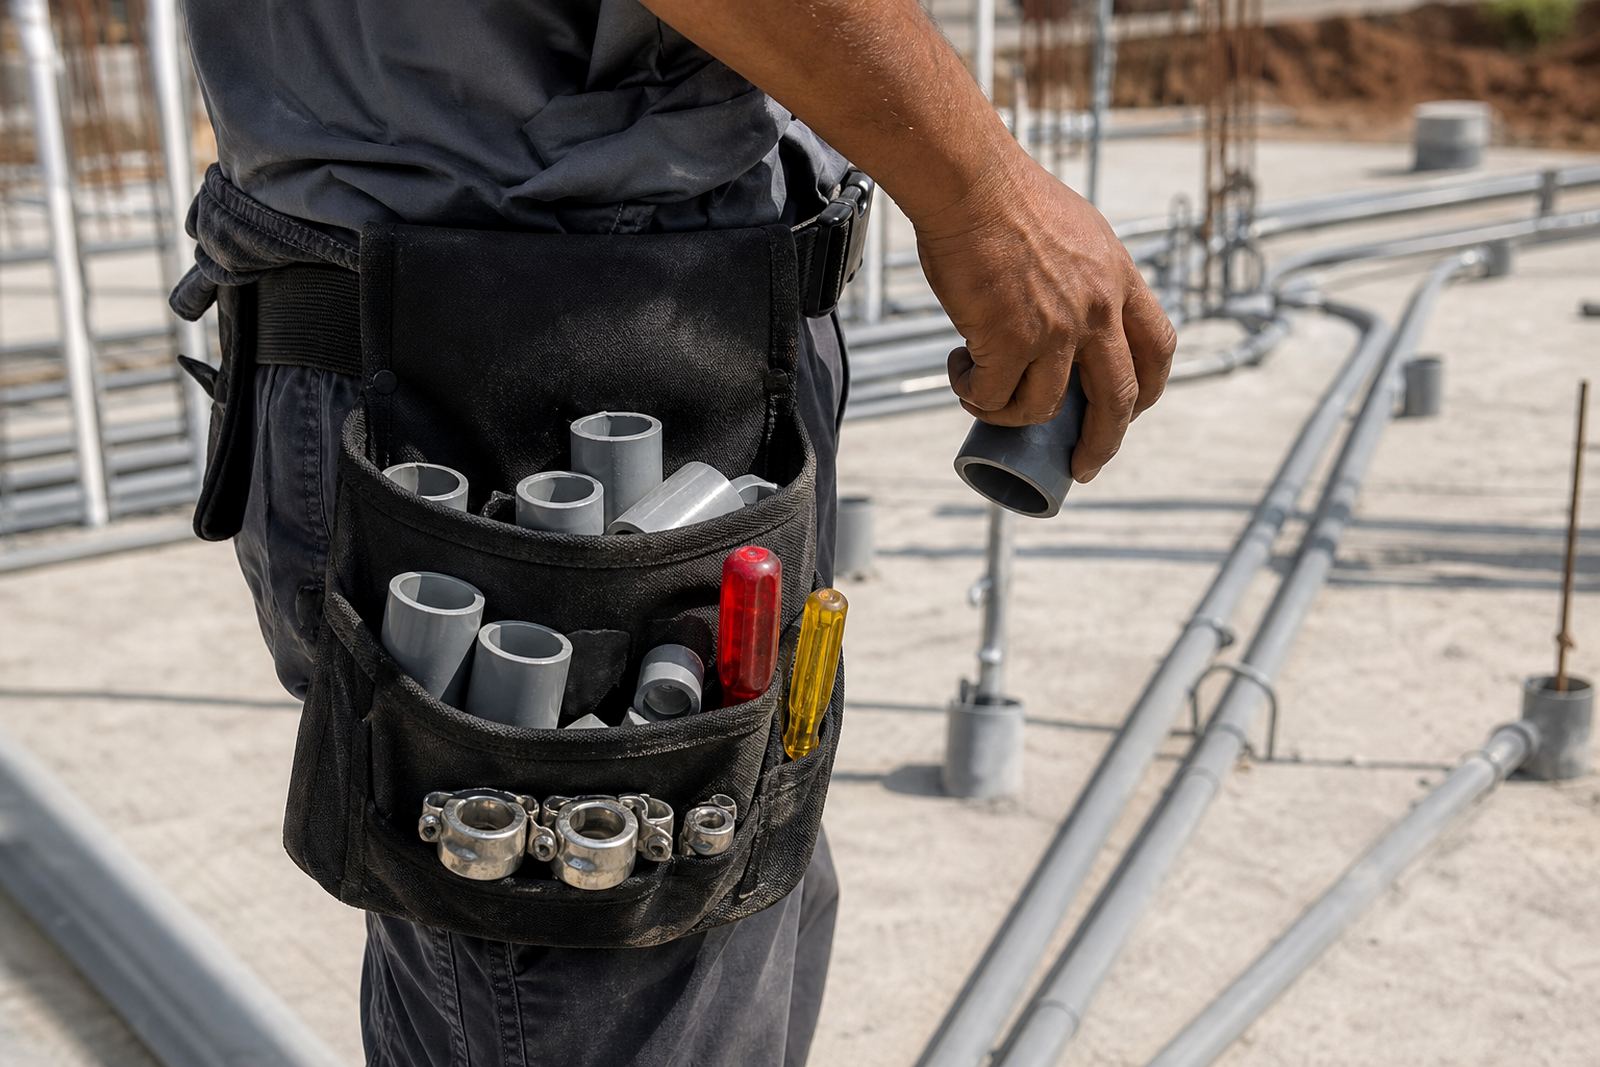
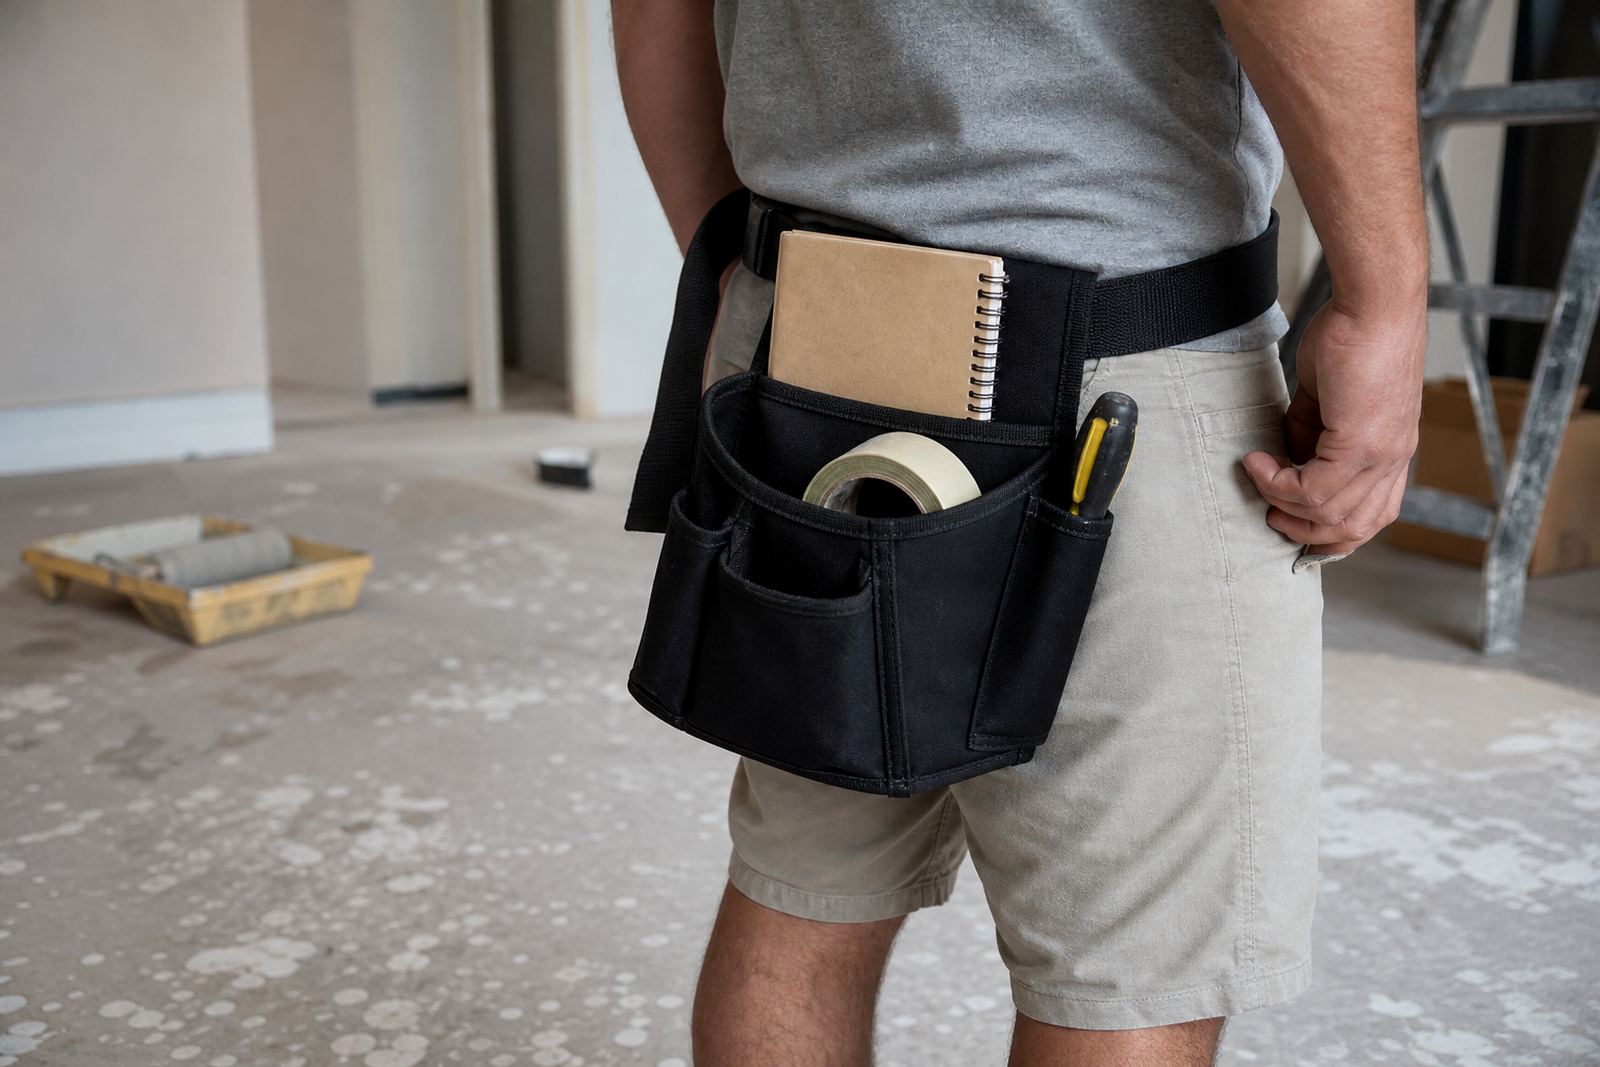
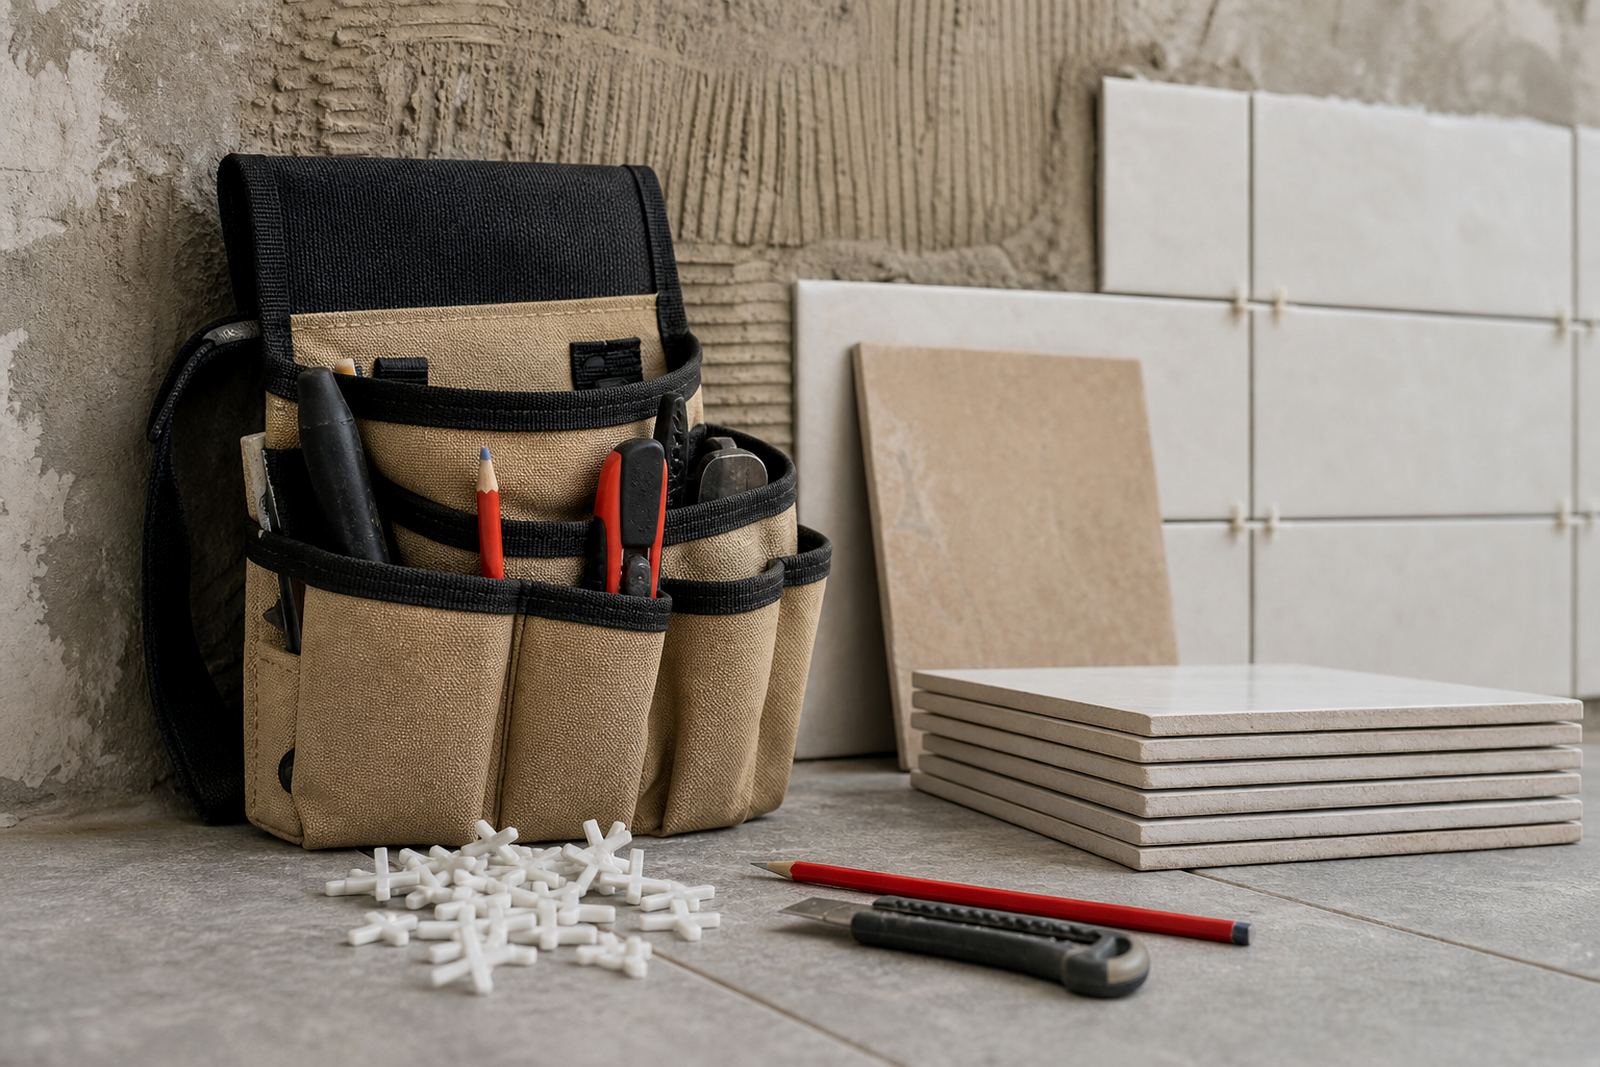
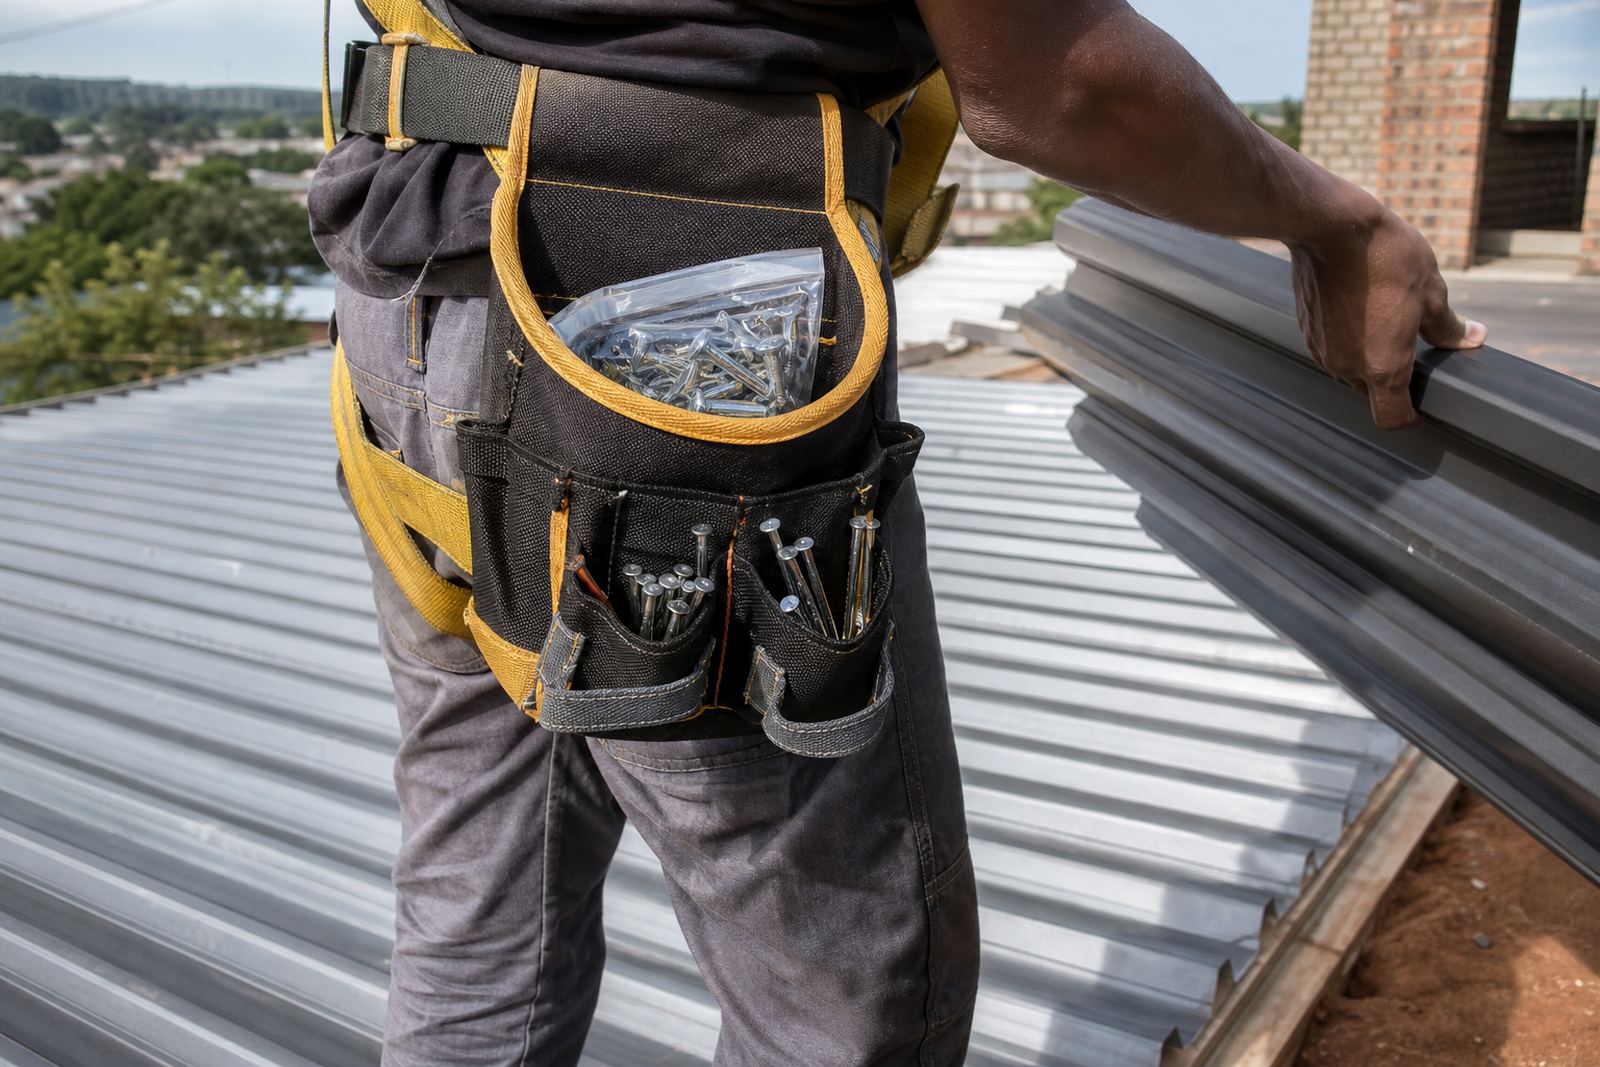
A roofing nail pouch is a compact tool carry solution worn on a utility belt, with pockets and loops arranged for fast access to fasteners, pencil, marker, tape and small hand tools. On roof work, that means less rummaging in a bucket or bag and fewer trips up and down the ladder. It is especially useful on pitch roofs, truss work and repair jobs where balance matters and the team needs both hands free as often as possible.
For builders in Gauteng, coastal teams in Durban or crews working through the dry heat of Polokwane, the right pouch should stay firm on the belt and not twist under load. A good layout also helps when conditions change during the day, from morning cool to hot corrugated sheets by midday. The pouch is a small item but it carries a lot of the pace of the job, so the stitching, pocket depth and belt attachment all matter.
Sizes, pocket layouts and carry options
Roofing nail pouches are usually chosen by pocket count, depth and the amount of gear a worker carries on each shift. Some teams want a lighter pouch for just nails and fixings, while others prefer a wider layout with extra loops and a reinforced front pocket for pencils, pliers or a small square. We also see different preferences between roof repair crews and new build teams, so it helps to match the pouch to the actual task rather than buying one size for everyone.
- Compact pouch for light roof repair and short service calls
- Standard pouch for nails, screws, chalk, pencil and small hand tools
- Deeper pouch for mixed fixings and longer roof shifts
- Left or right side wear depending on trade habit
- Open top or flap style depending on the level of protection needed
When ordering for a team, keep in mind that belt width and pouch balance should suit the person wearing it. A pouch that sits too low can pull forward, while one that is too tight can dig in during ladder climbing or when kneeling on the roof. Small fitting details make a big difference over a long day.
Where this pouch suits best on site
This pouch suits roofing contractors, general builders, maintenance teams and electricians who need to carry small fixings and hand tools in a neat, secure way. It is useful for tile roofs, sheet roofing, waterproofing work, flashing repairs and general top-side maintenance. For electrical teams working on roof-mounted cabling or support work, it helps keep connectors, screws and markings close at hand, though the pouch is not a replacement for proper insulated tool storage.
On municipal or commercial projects, a tidy carry system can also help with site control because tools are easier to account for at the end of the shift. That matters when there are multiple crews on one site and gear gets passed around. In wet coastal conditions around Cape Town or Durban, a well chosen pouch can also help reduce the time tools spend lying on damp surfaces, which is useful for keeping steel items in better shape.
- Roof repairs and patch work
- New build roofing crews
- Small fix and maintenance teams
- Electrical roof access and support work
- Contractor crews that need quick access on height
Power, gas and installation notes for roof crews
The pouch itself needs no power or gas, so there is nothing to connect, charge or fuel before use. That makes it practical on sites with load shedding, remote projects or areas where power supply is limited. Because it is a worn carry item, the main setup is fitting it to the correct belt and making sure the load is balanced for the person using it. If a team uses battery tools or gas driven fixers on the roof, the pouch can still support the small hand items that go with those tools, such as markers, spare bits, fasteners or a measuring tape.
For installation on a belt, thread the pouch through the belt loops or clip points if that model includes them, then check that it sits at hip height and not too far forward. The wearer should be able to kneel, crouch and climb without the pouch catching on harness straps or roof edges. On steep work, that small check can save a lot of irritation later, and it helps the pouch stay out of the way when moving over sheeting or timber. If your crew works with fall protection, make sure the pouch does not interfere with the harness buckle or lanyard path.
Materials, care and servicing between jobs
Good roofing nail pouches are usually made with hard-wearing fabric, reinforced stitching and a stiffened base or pocket edge to handle repeated use. The material should cope with dust, plaster residue and the rough handling that comes with site work. If the pouch is used in humid coastal areas, wipe it down after use so moisture does not sit in the seams. In dusty inland conditions, a quick shake-out and brush-down helps keep grit from building up in the corners.
Care is simple. Empty the pouch daily, check the stitching and inspect the belt loops for wear. If there is any fraying, loose rivets or bent hardware, take it out of service before the next shift. Teams that keep a small stock of spare pouches often find fewer job delays because worn items can be swapped fast instead of patched in the yard. It is a simple habit but it keeps the kit in better shape over time.
- Shake out dust and debris after each shift
- Wipe damp areas before storage
- Check for torn seams, loose loops and worn edges
- Store flat in a dry, shaded place
- Replace any pouch that no longer holds shape securely
What to check before you place an order
Before ordering, check what your team actually carries on the roof. The right pouch depends on fastener size, tool mix and whether the worker prefers a lighter or fuller load. It also helps to confirm belt size matching, because a pouch that fits the belt poorly can shift around during movement. If you are ordering for several workers, note that one size does not suit every build team, and a mixed order can be better than forcing everyone into the same setup.
Useful checks include pocket depth, side preference, flap style, belt width, and whether the pouch needs to work with other site gear such as a harness or tool tether. For contractors doing repeat work, ask about stock replenishment plans so replacement units can be kept ready. If your crew is based in Alberton, Johannesburg, Pretoria, Midrand, Centurion, Durban, Cape Town or Polokwane, we can support delivery planning around project timing so your order arrives when the site needs it. It helps keep the roof crew moving withouit gaps in kit.
- What fasteners and small tools will be carried
- Left or right side wear preference
- Needed pocket depth and layout
- Belt size and belt width
- Whether the pouch must work with a harness
- Quantity for starter kits, team kits or project rollout supply
Key facts
| Product type | Roofing nail pouch |
|---|---|
| Use case | Secure carry and quick access on elevated roof work |
| Typical users | Roofing teams, builders and electricians |
| Carry layout | Pockets for nails, fixings, pencil, tape and small hand tools |
| Power or gas requirement | None |
| Supplied from | Alberton, Gauteng with national delivery support |