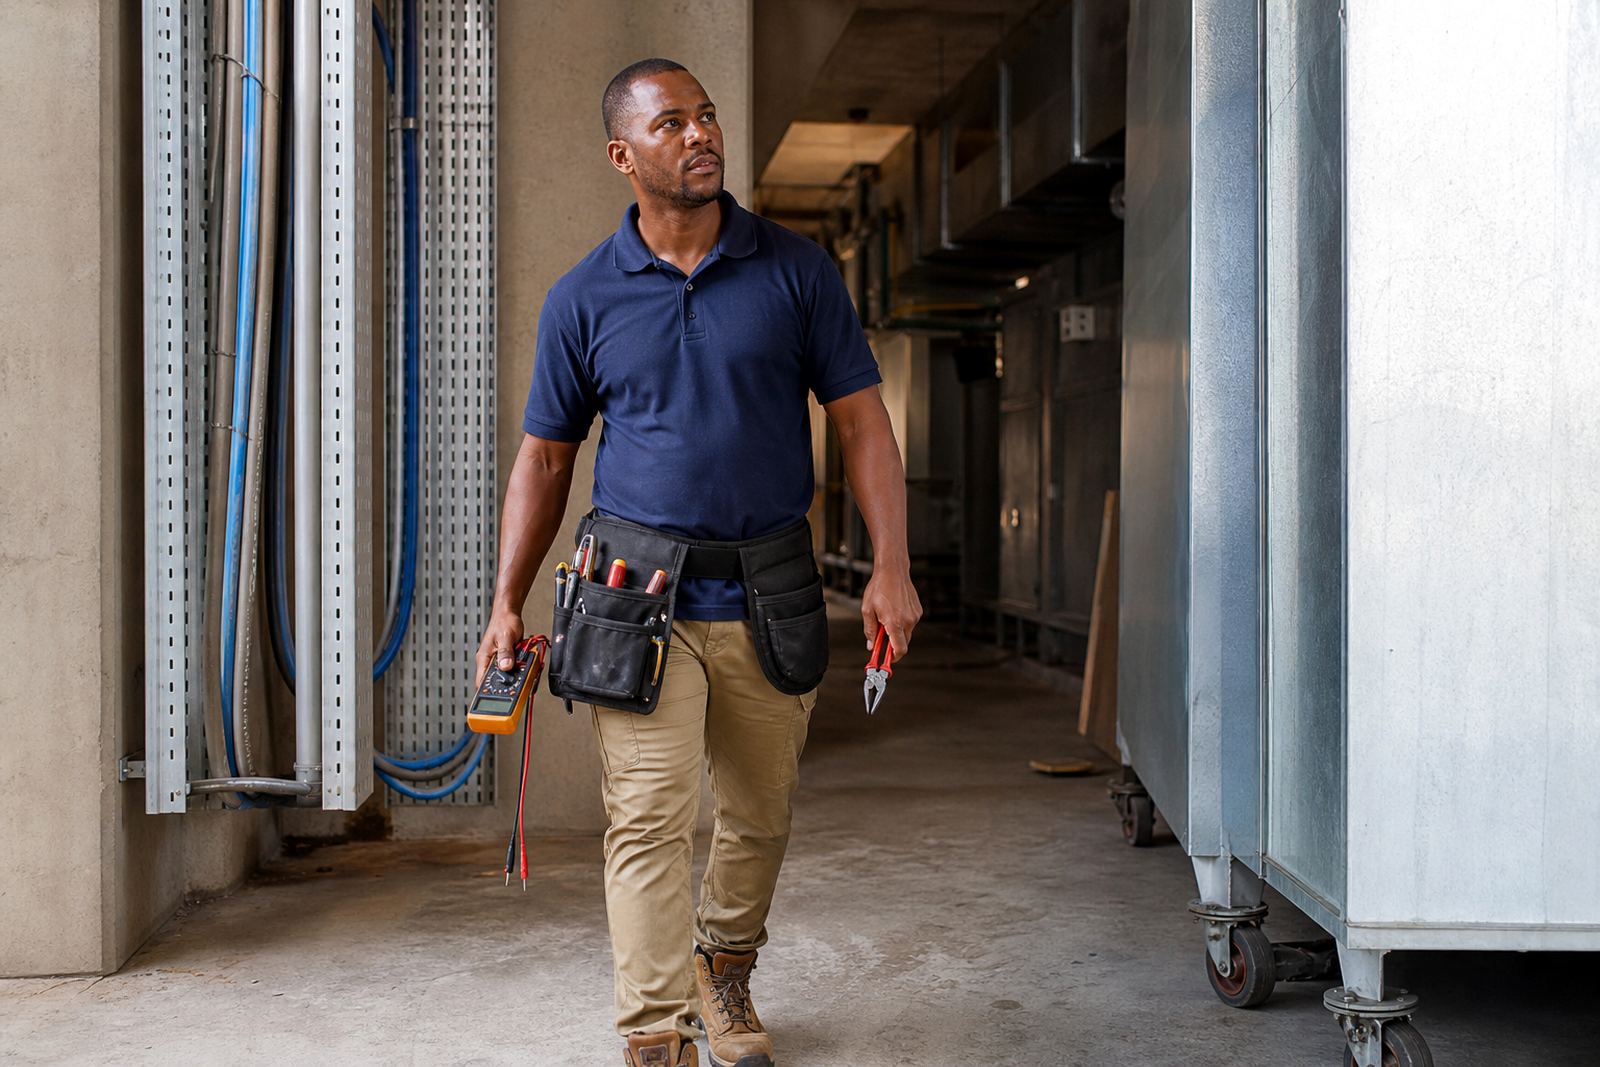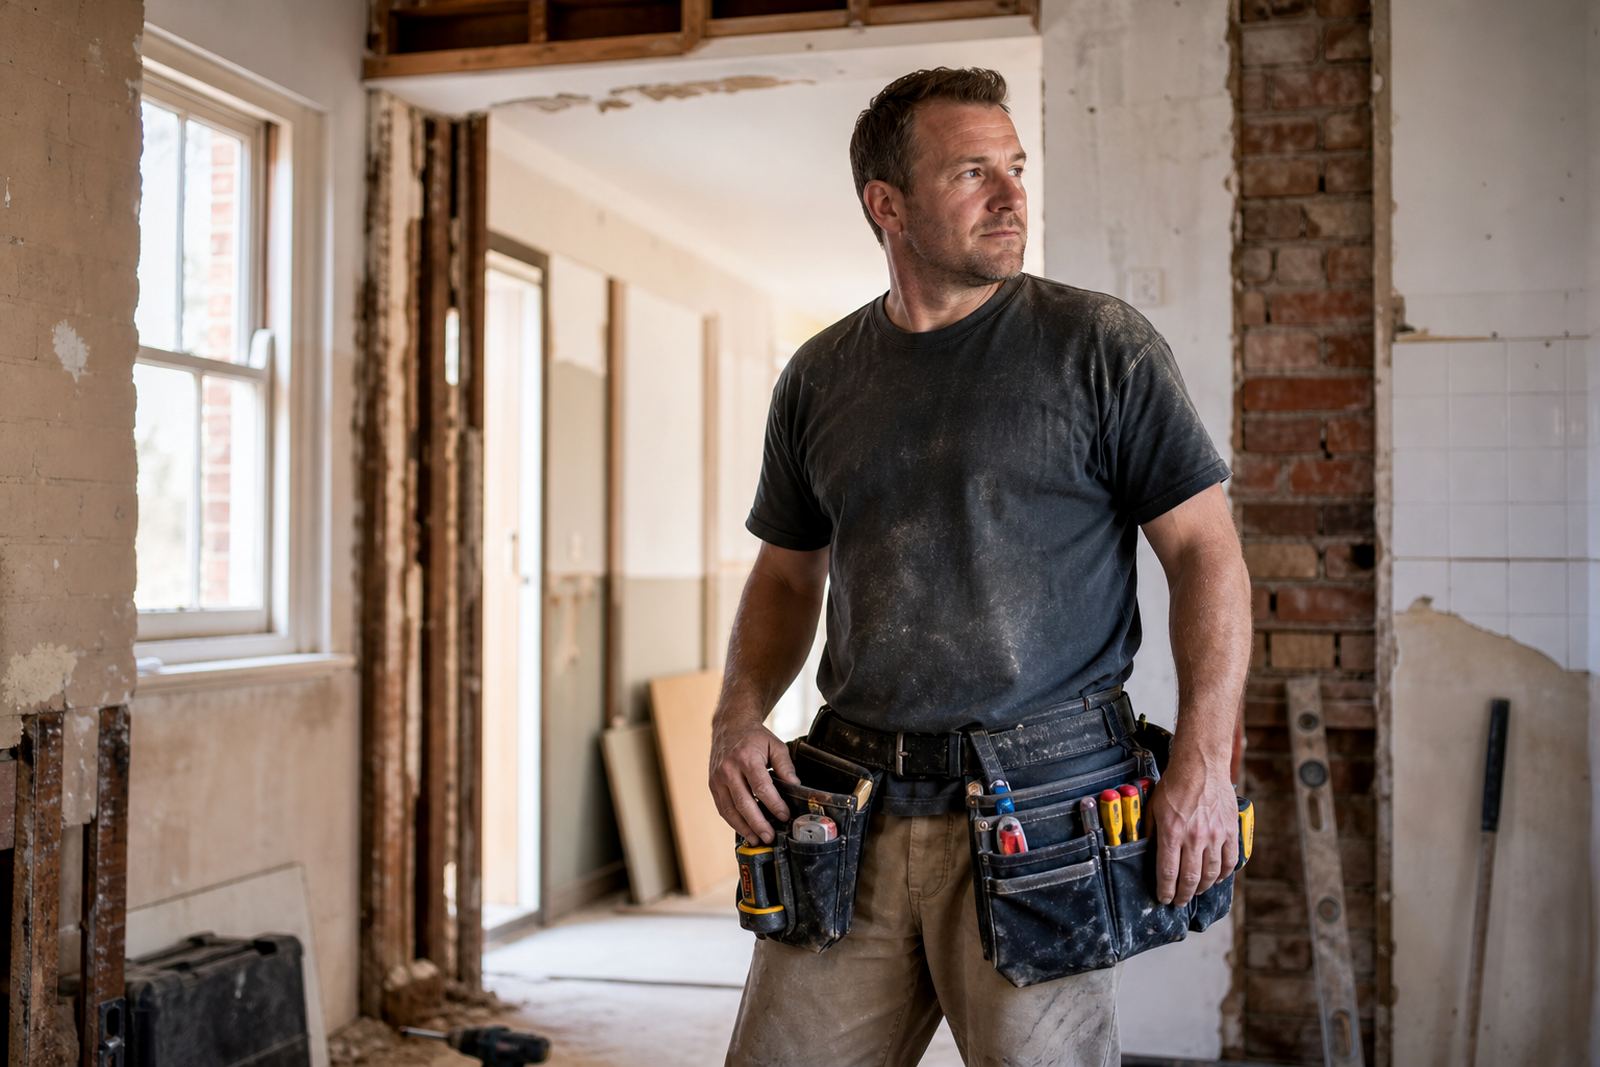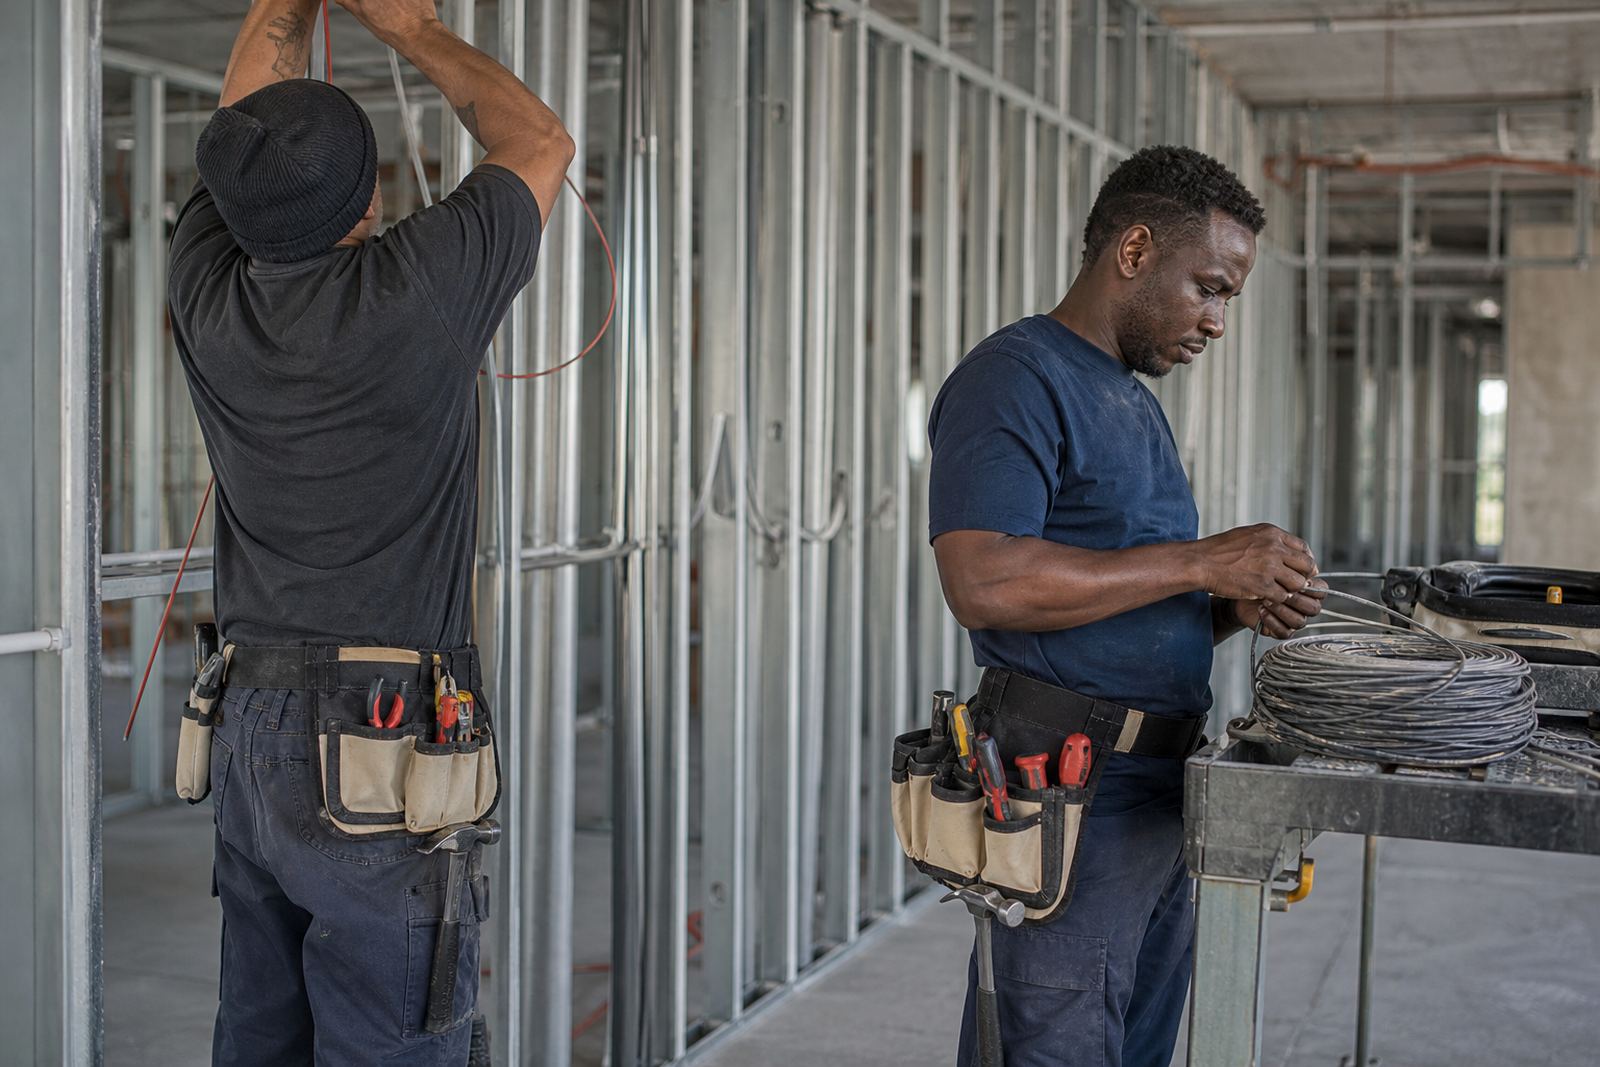

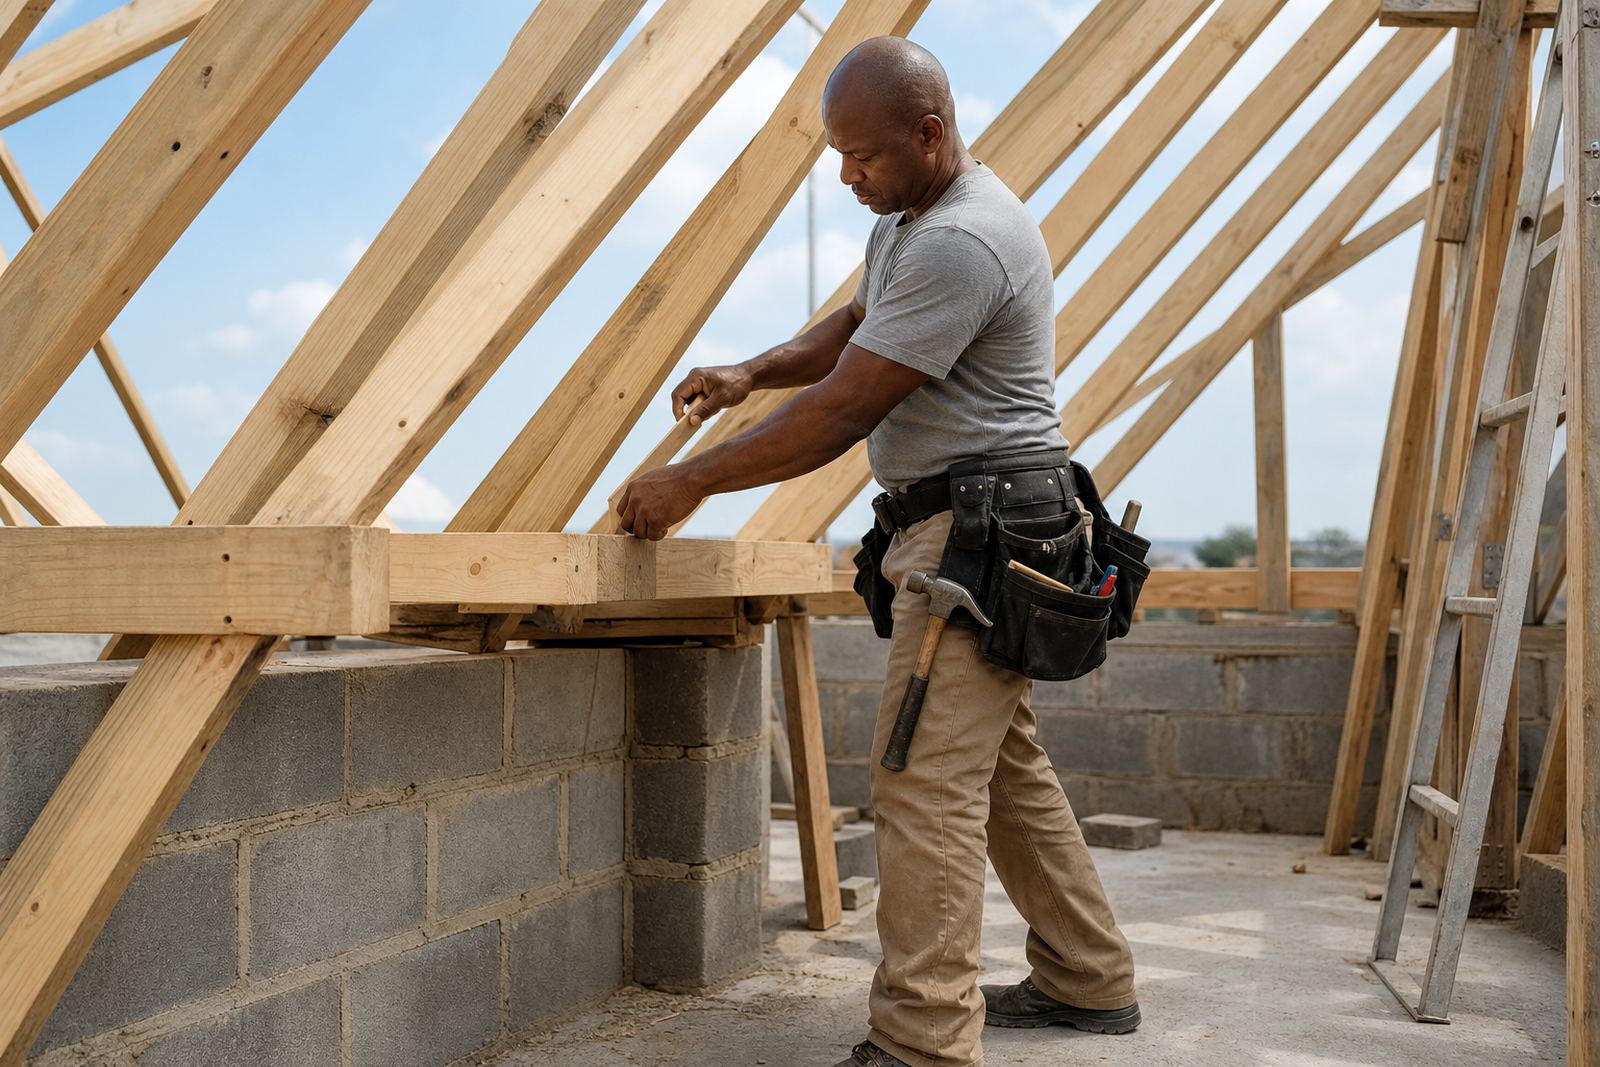
Built For Repetitive Fix-And-Move Framing Work
Framing carpentry asks a lot from your kit. You are lifting, marking, nailing, trimming, measuring and shifting every few minutes, so the pouch has to stay close, hold weight properly and not swing around when you climb, crouch or kneel. For crews working on roof trusses, wall frames, shuttering and timber partitions, the right pouch setup saves time on every round trip to the toolbox.
On South African sites that means something simple and practical. You need space for nails, screws, pencil, tape, speed square, utility knife and a hammer, without the pouch collapsing or digging into your hip by lunchtime. In Gauteng heat, coastal humidity in Durban, or dusty sites around Polokwane, materials also need to handle daily wear and regular cleaning.
Many framing teams in Alberton and the wider Joburg belt ask for a layout that keeps the heavy items balanced and the small fixings in easy reach. That matters when you are moving from one stud bay to the next and trying to keep the flow going.
Typical Gear For A Framing Carpenter
The best setup depends on the size of the crew and the type of work, but a standard framing carry usually includes a fastener bag on one side and a hammer loop on the other. Some carpenters prefer two pouch sections so nails and screws stay separate, while others want a deeper main pocket for line chalk, a tape and spare pencil stock.
- Fastener pouch for nails, screws, coach screws or brackets
- Hammer loop that holds the tool secure while walking or climbing
- Secondary pocket for tape measure, knife and marking tools
- Small slot for pencil, marker and chalk line
- Belt with enough width to spread weight across the waist
For builders working mixed jobs, the pouch may also need a slot for driver bits or a small square. If the crew is doing fix-and-move work on timber framing, less is often better. Too many small pockets can slow you down and make it harder to find what you need with gloves on.
How To Plan A Layout That Works On Site
Layout planning starts with the way the carpenter moves. Right-handed workers often want the hammer on the dominant side and the fastener bag on the other, but the real answer is whatever feels natural during a full shift. The pouch must clear belts, braces and jackets, and it should sit high enough to avoid rubbing against the thigh when you step over timber or climb a ladder.
For larger projects, we often suggest matching pouch size to task. A crew setting out wall frames may need a more compact carry than a team doing roof work or repetitive fixing. In practical terms, that means choosing the number of pockets based on the task not on what looks full. If a pouch is overloaded it starts to twist, and that gets tiring by midday.
- Keep the heaviest items closest to the body
- Separate sharp tools from fasteners so nothing tears the lining
- Match belt size carefully for comfort during long shifts
- Test the layout with gloves on before ordering for the whole team
- Allow for winter layers in inland areas and lighter clothing near the coast
Common Mistakes With Framing Pouches
One common mistake is buying a pouch that is too small for the job. Framing work moves quickly and if you keep reaching back to a toolbox every few minutes, the crew loses time. Another mistake is choosing a belt that is too narrow or too loose, which causes the pouch to sag and pull on one side. That becomes a problem during a long shift or when climbing scaffolding.
Some contractors also under-spec the hammer loop. If it is too tight, the hammer is hard to return while wearing gloves. If it is too open, the hammer swings around when you bend down. Another issue is mixing fine finish tools with rough framing gear. Nail bags for timber framing should be set up for heavy daily use, not for delicate trim work.
On dusty inland sites and coastal jobs with salty air, poor stitching and weak edging show up fast. It is worth getting a layout that suits the actual site conditions, not just the price on the quote.
Budget Ranges For Individuals And Teams
Budget depends on how much carry you need and whether you are buying one set or kitting out a full crew. A basic framing pouch and belt set will cost less than a larger kit with extra pockets, stronger reinforcement and a better hammer loop. For one carpenter, the goal is comfort and quick access. For a contractor, the goal is consistency across the team.
As a rough working range, a straightforward pouch setup can start from the lower hundreds of Rand, while more complete trade kits and matched belt systems may move into the mid hundreds or above, depending on size and layout. Bulk orders for builders, carpentry teams and project rollouts can usually be planned to suit the budget across multiple workers.
If you are equipping apprentices, it may make sense to start with a lighter starter kit and then add more capacity once the worker settles into the job. That avoids paying for pockets that stay empty and keeps the kit easier to wear day after day.
Ordering For Projects Across South Africa
Waistbags Pro supplies framing carpentry pouches and utility belts from Alberton to Johannesburg, Pretoria, Midrand, Centurion, Durban, Cape Town and Polokwane. We work with contractors who need belt size matching, starter kit builds, mixed trade kits and stock replenishment plans for active sites. If a project is rolling through phases, we can help keep the same pouch layout across the crew so every worker knows where the tools are.
For builders and electricians working on the same site, mixed orders can also be split by trade. That helps when one team is doing timber framing while another is handling fit-off work. It also keeps replacement planning simple when a pouch wears out or a new worker joins mid-project.
Clients contact us through the enquiry form on our contact page. From there we can help with site specific selection, delivery planning and contractor order support so the gear arrives ready for the job at hand.
What A Good Framing Setup Should Feel Like
The right framing pouch should feel like part of the work, not something you keep adjusting all day. It should sit stable at the waist, hold fasteners without spilling, and let you reach tools without looking down every time. If you can move from mark-out to fixing to hammering without stopping, the layout is doing its job.
For timber framing crews, that means a setup that supports the rhythm of the day. Fastener bags, hammer loops and a properly matched belt are a small part of the kit, but they make a clear difference once the work gets repetitive. Good gear saves steps and keeps the crew moving at a steady pace.